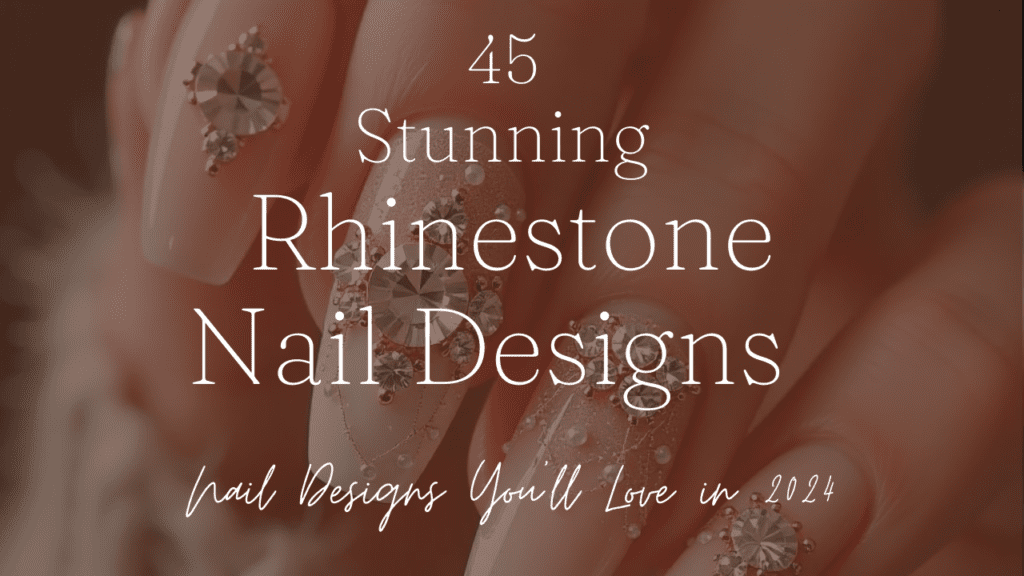
Hello! Are you ready to step up your manicure? Prepare to be wowed by rhinestone nail designs for nails that will make your fingertips shine like a disco! This guide will teach you to add serious bling to your nails, whether a nail art novice or an experienced pro.
Rhinestone Nail Art: Get your Sparkling on!
Imagine you enter a crowd, and everyone is immediately attracted to your fabulous nails. Rhinestone nail design is a magical way to make your nails stand out. The tiny stones are brilliant and have wholly transformed nail art, transforming simple manicures into works of beauty. The days of nail polish being a simple color are over. Now, the focus is on creativity, personality and sparkle.
Bling Basics: Foundational Techniques
Let’s first talk about the star of the show, the rhinestones. All sparkles are not created equal. Rhinestones come in many different types.
- The flat-back design is perfect for creating clean, crisp designs.
- The 3D Rhinestones are a great way to add dimension.
- The holographic stone is a real wow factor. It changes color depending on the amount of light it catches.
A few essential tools will be in your toolbox
- The best tweezers are the pointed ones.
- Nail glue or gel.
- Small Dotting Tool.
- You need to have steady hands or lots of practice.
Classic Rhinestone Nail Designs
There is something for everyone in the Classic Rhinestone Design categories. Here are some nail designs to make your nails look gorgeous:
1. Designing Minimalist (For those who believe that less is more)
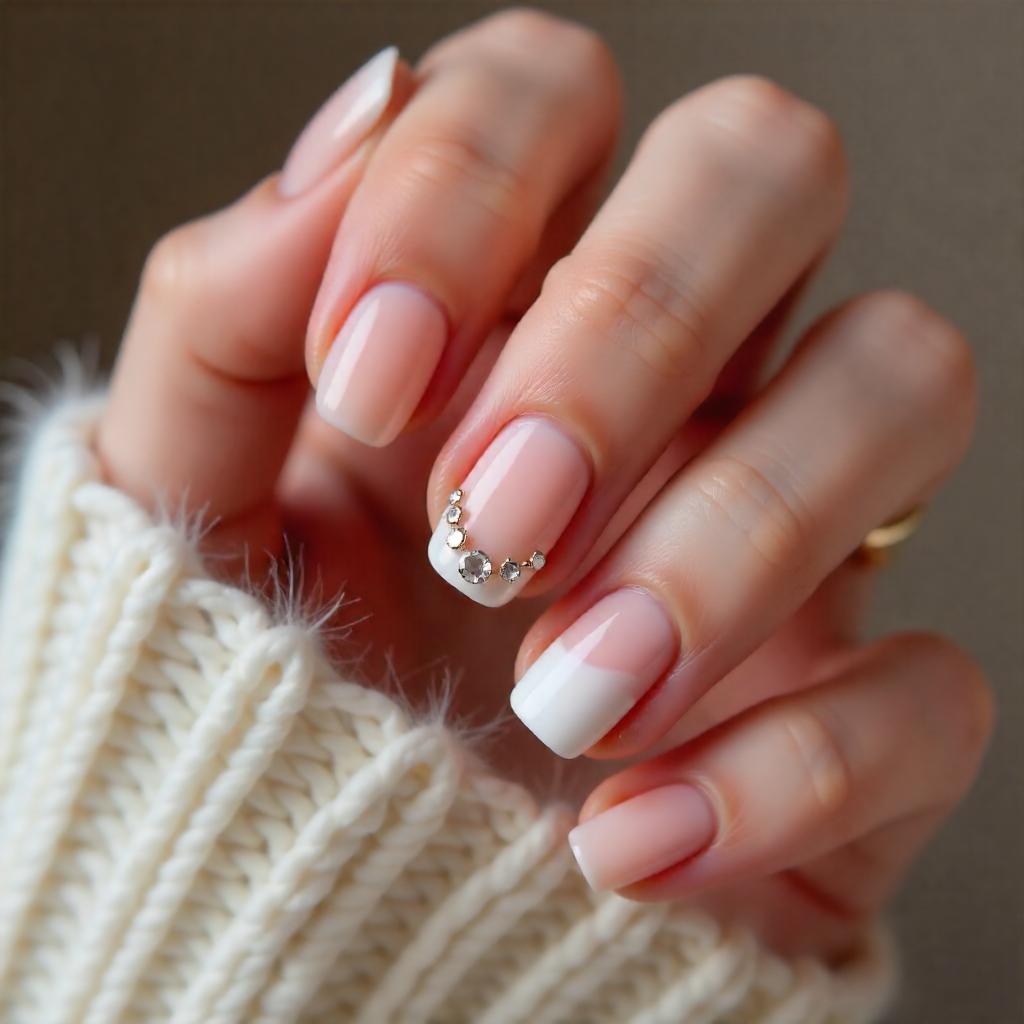

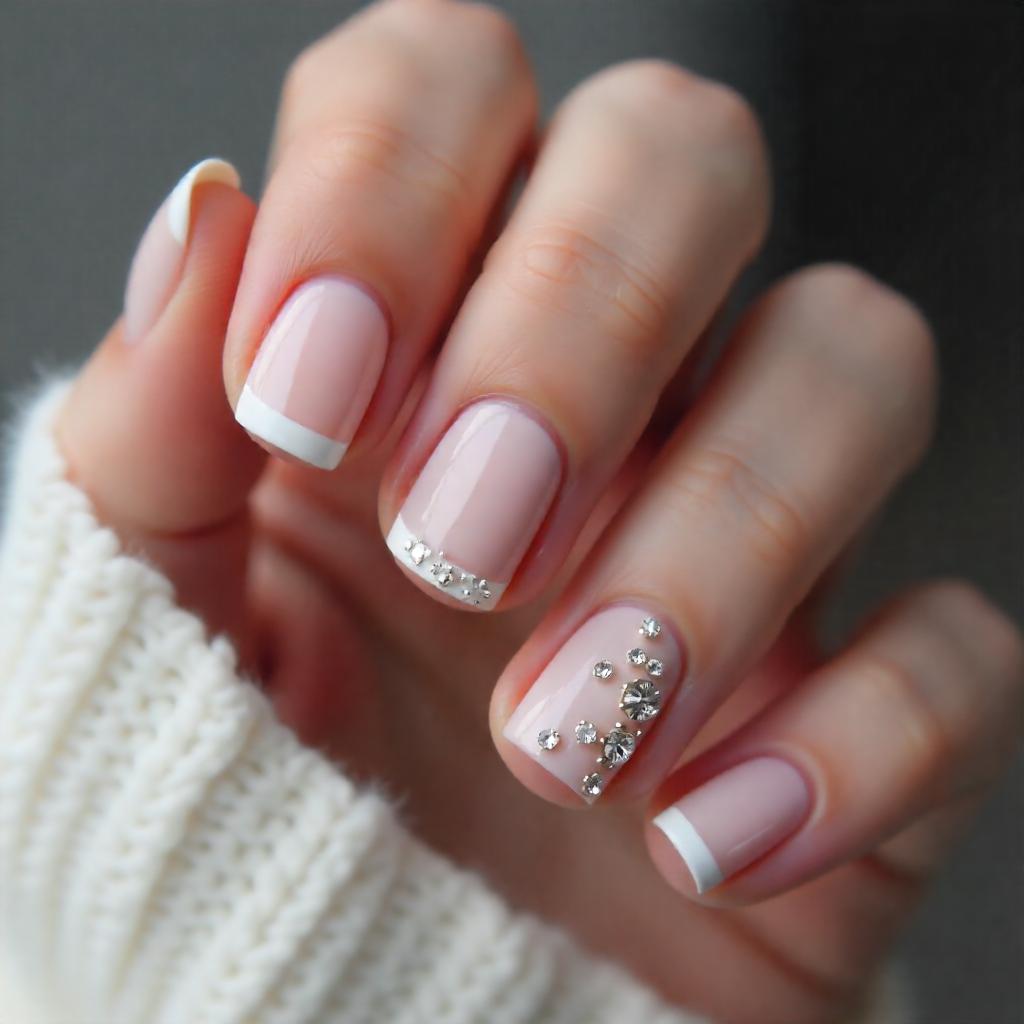

The minimalist rhinestone design is all about subtle elegance. Imagine changing a classic mani with a few stones placed carefully. Imagine a base of a soft pastel or nude color with an accent nail featuring three perfectly placed crystals. A sleek French tip with tiny rhinestones along the edges, giving it a subtle touch of glamour.
The subtle sophistication of these designs speaks volumes. Precision is the key – every stone is placed carefully for maximum impact. This is perfect for anyone who wants to add some luxury but not overwhelm their appearance. The minimalist rhinestone design proves that less is often more.
2. The Show Stopper: Full Glam Designs
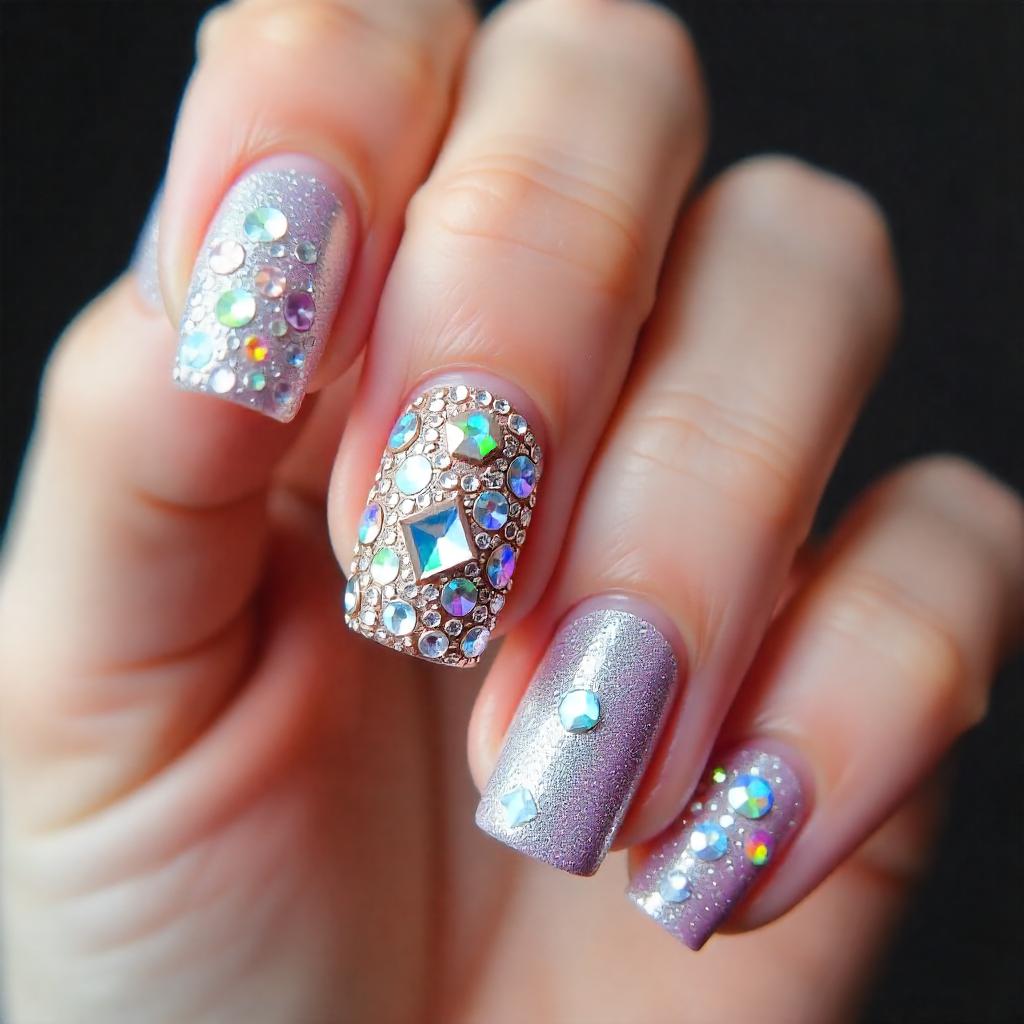

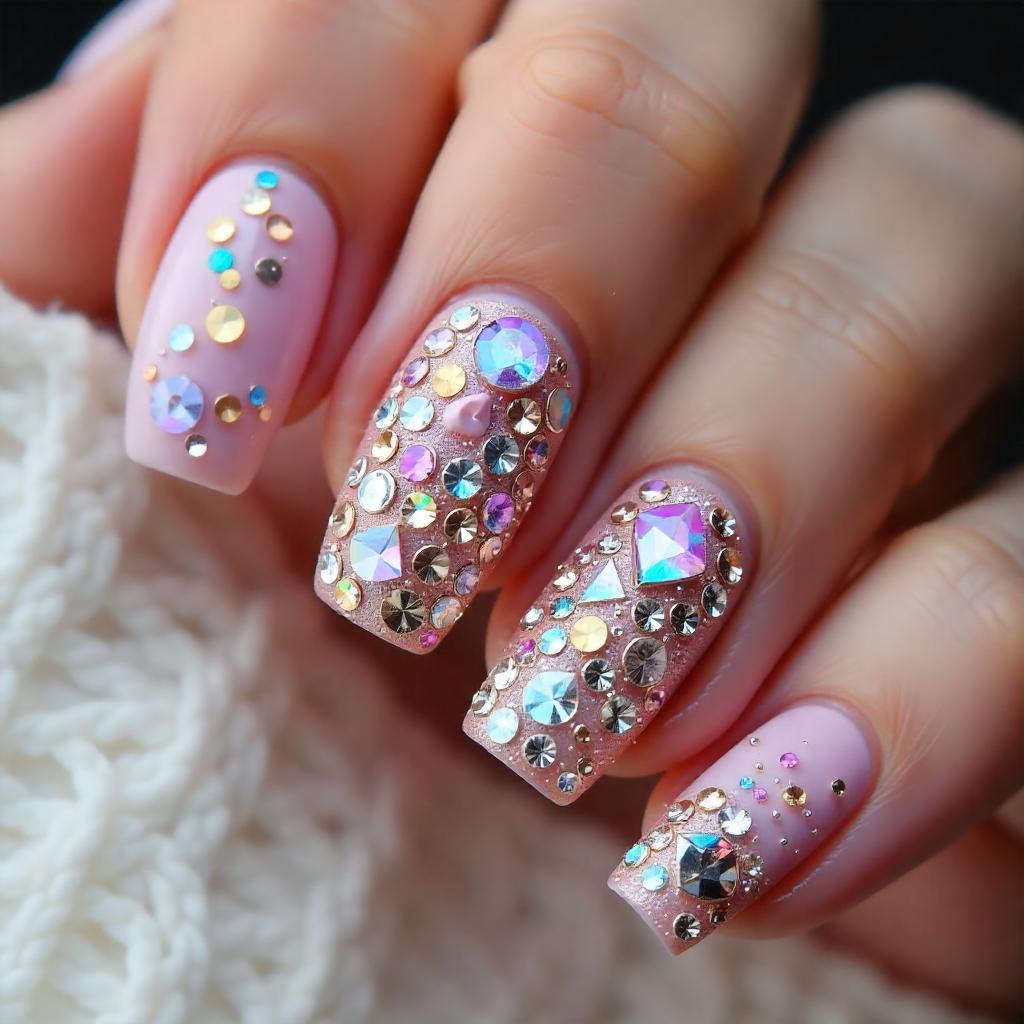

The ultimate in nail art is a total glam design with rhinestones. Imagine an entire nail covered with a variety of crystals of various sizes, colors, shapes, and patterns. This creates an incredibly dazzling mosaic that catches the light at every angle. The bold, the fearless and those who love to make their nails the focus of attention will enjoy these designs.
Imagine an ombre backdrop with rhinestone designs cascading down each nail or a design that mimics constellations with stones strategically placed in different sizes. It’s all about drama. Mix metallic stones with holographic crystals and geometric patterns to create an art-jewelry look. The designs are full of confidence, creativity and glamour. They’re perfect for anyone who loves to stand out.
Color Palette Inspiration: Beyond Basic Bling
3. The Neutral Tone: Rhinestone Nail Designs
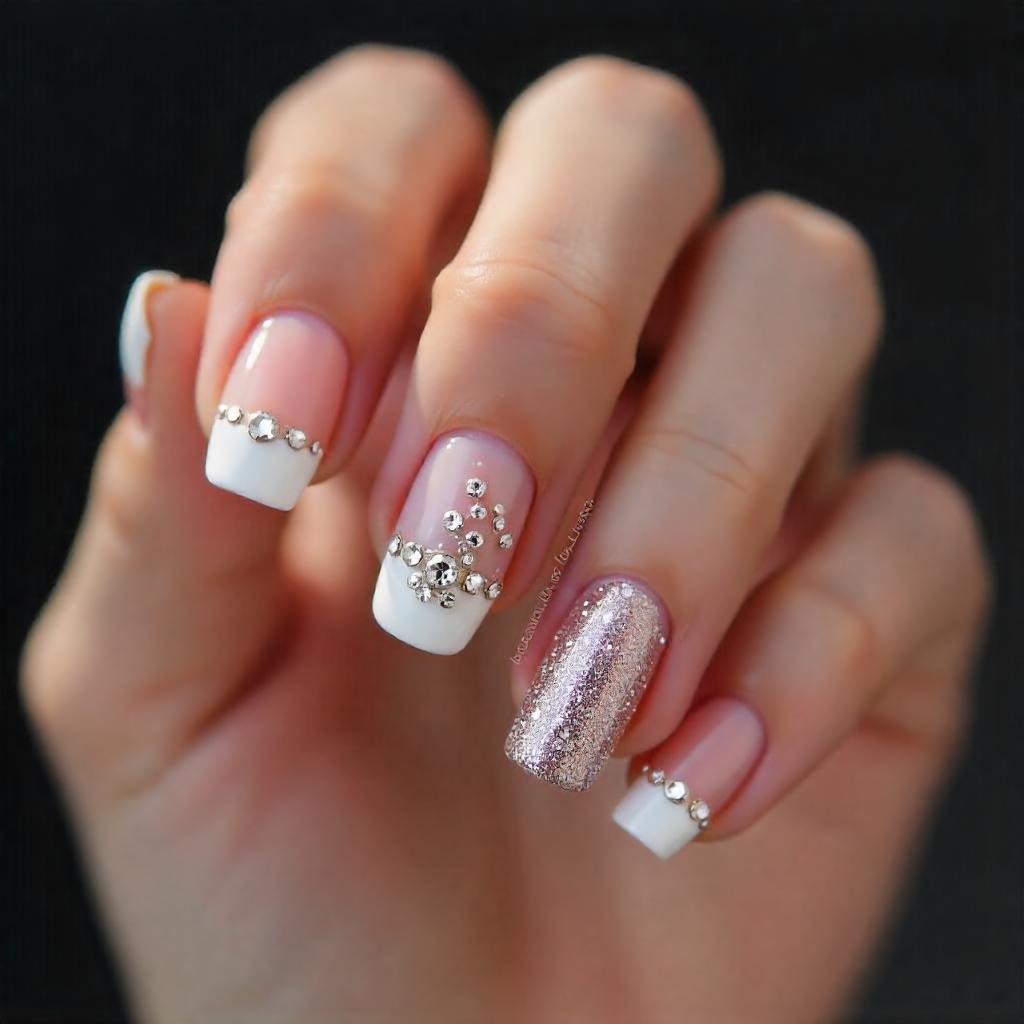

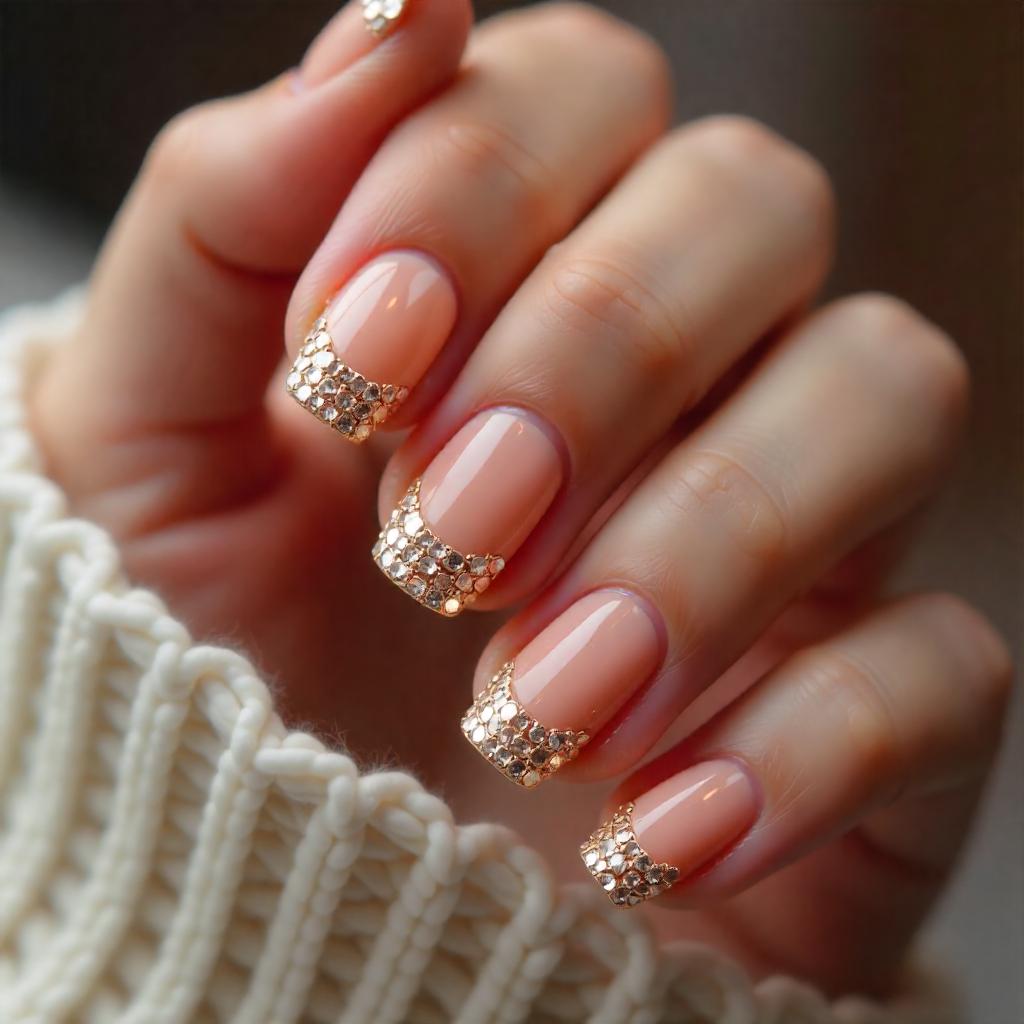

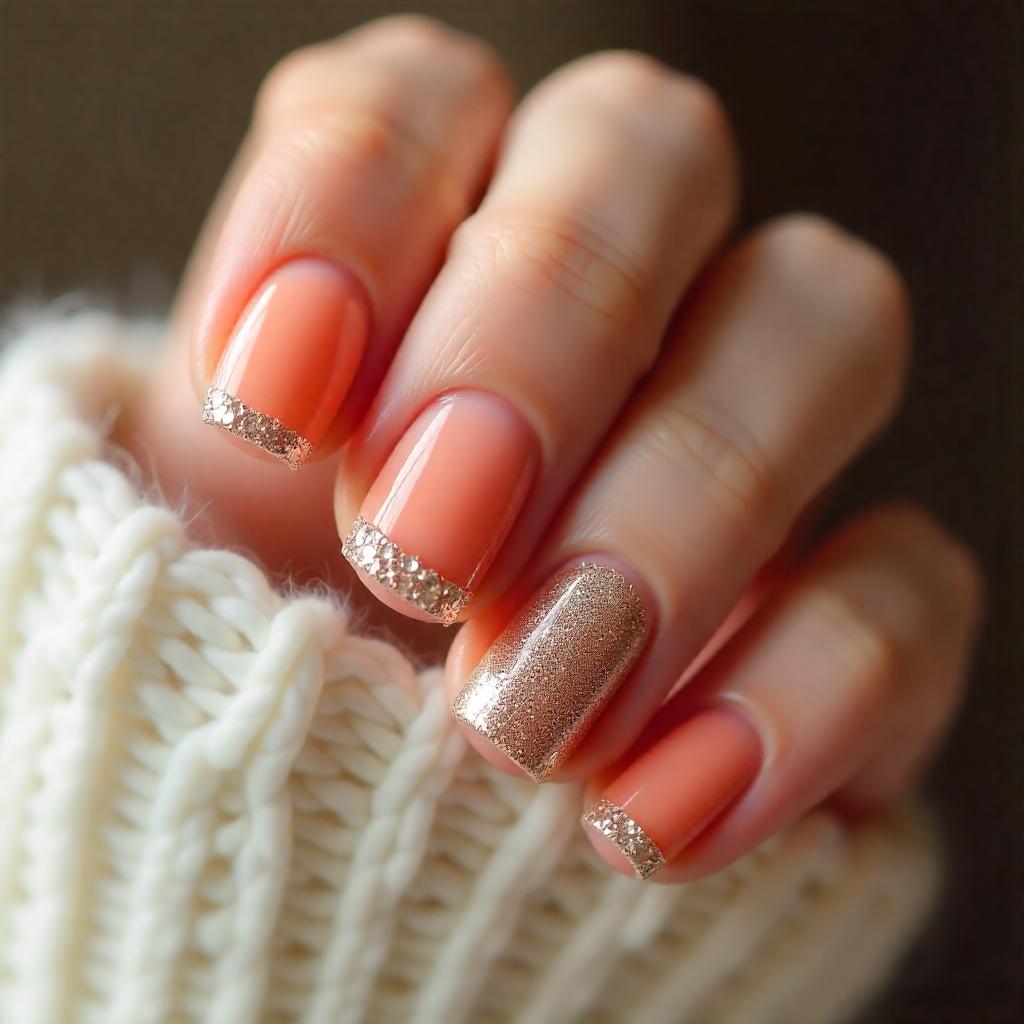

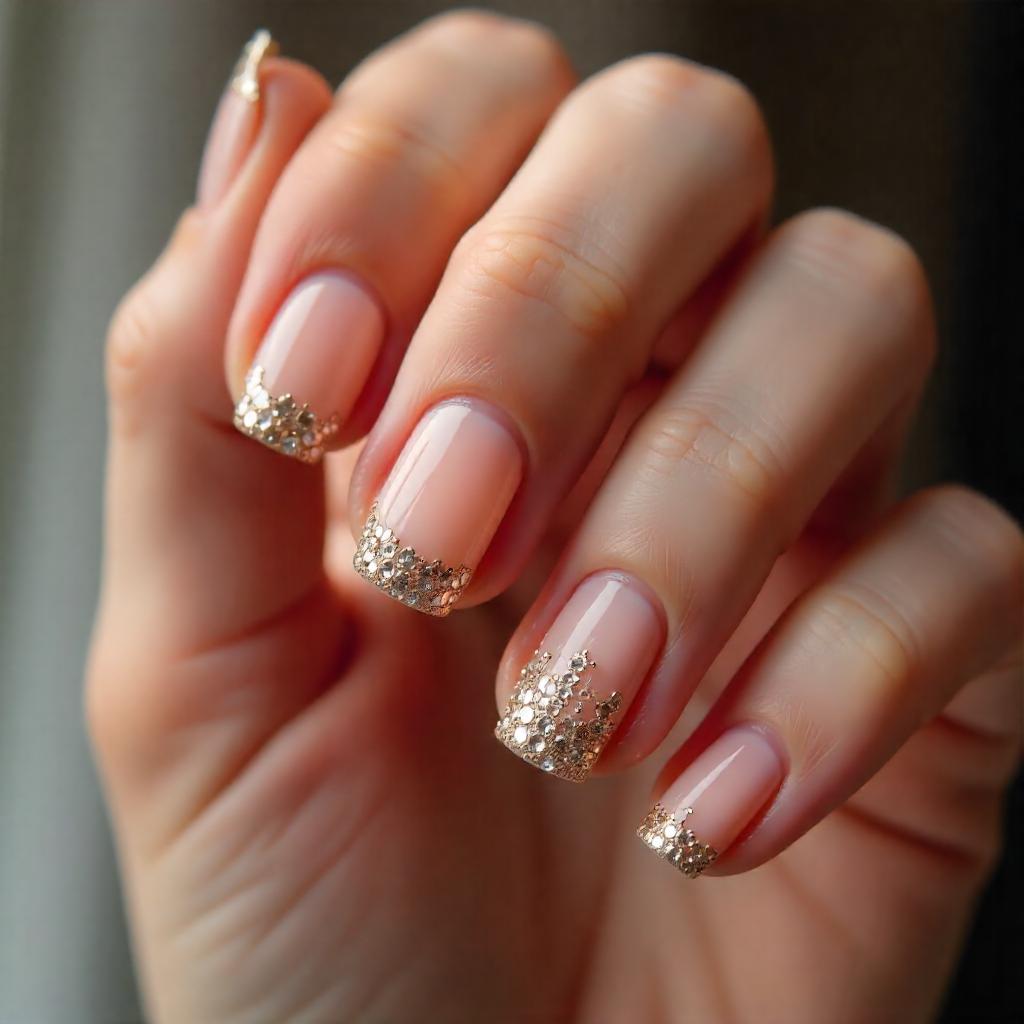
The ultimate canvas to create sophisticated rhinestone designs is a neutral nail design. Imagine an elegant nude nail base transformed with carefully placed crystals. Imagine a nail in a champagne tone with subtle crystal accents to create depth and dimensions. A slight edge of glittering stones adds a touch of glamour to the classic French tip.
The neutral colors are ideal for special occasions or professional settings. They also look great when wearing them to an event. It’s all about subtle placement. Less is more, and every stone has a unique story to tell.
4. Bold Color Schemes
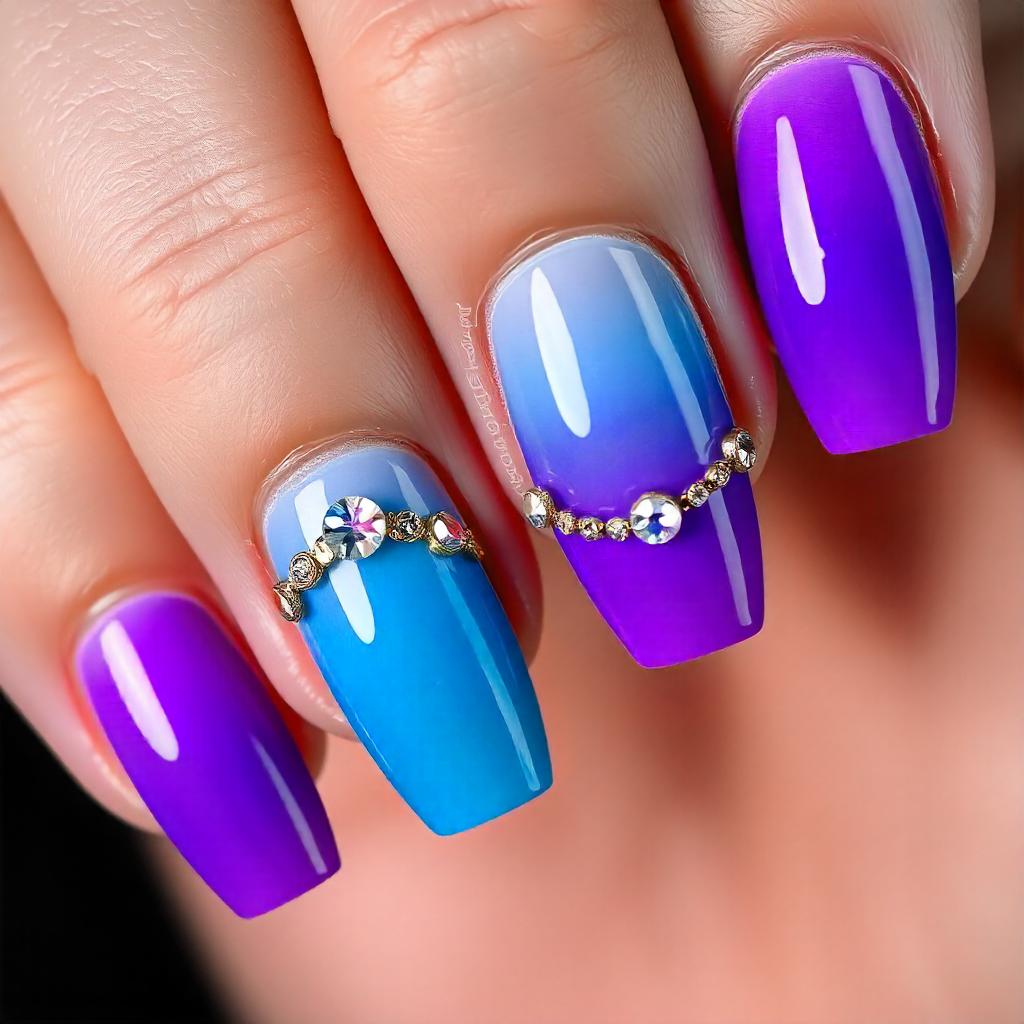

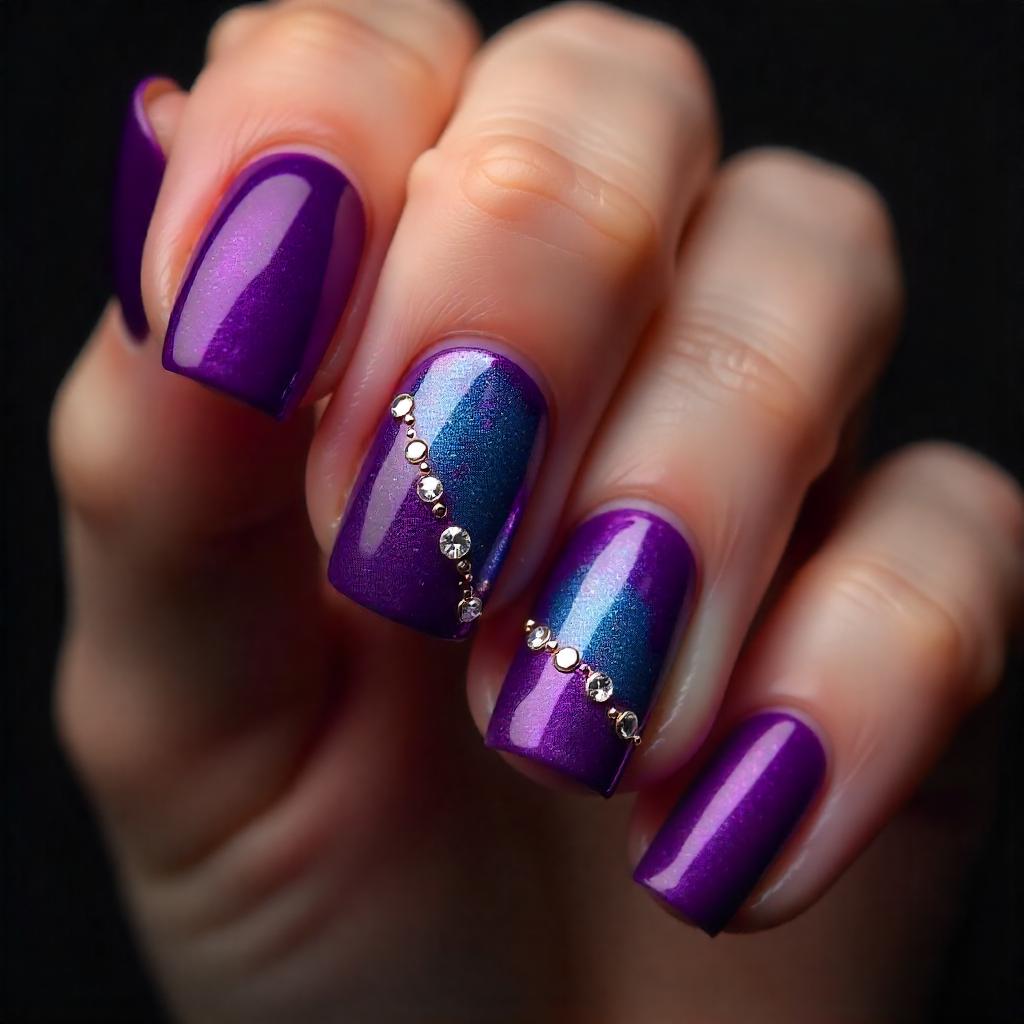

If neutrals aren’t enough, then bold color schemes will get you to the top of nail art! Imagine vibrant backgrounds with ombre effects that merge like sunsets, punctuated by strategically placed rhinestones. Electric blues blending into purples and interrupted with a line of crystal stones to create drama.
Imagine a deep purple base with gold or silver stones that make the nails stand out. With varying shades and rhinestones, monochromatic designs are given a new dimension. The designs are full of creativity and confidence. Each nail is transformed into a mini-work of art that tells a tale of self-expression.
You May Also Like: Rose Gold Nail Designs: 52 Stunning Ideas for Every Occasion
Design Nail Shapes: There’s Bling to Fit Every Shape
Different nail shapes? Different nail shapes? How to put rhinestones anywhere on a nail?
5. Ballerina or Coffin Nails
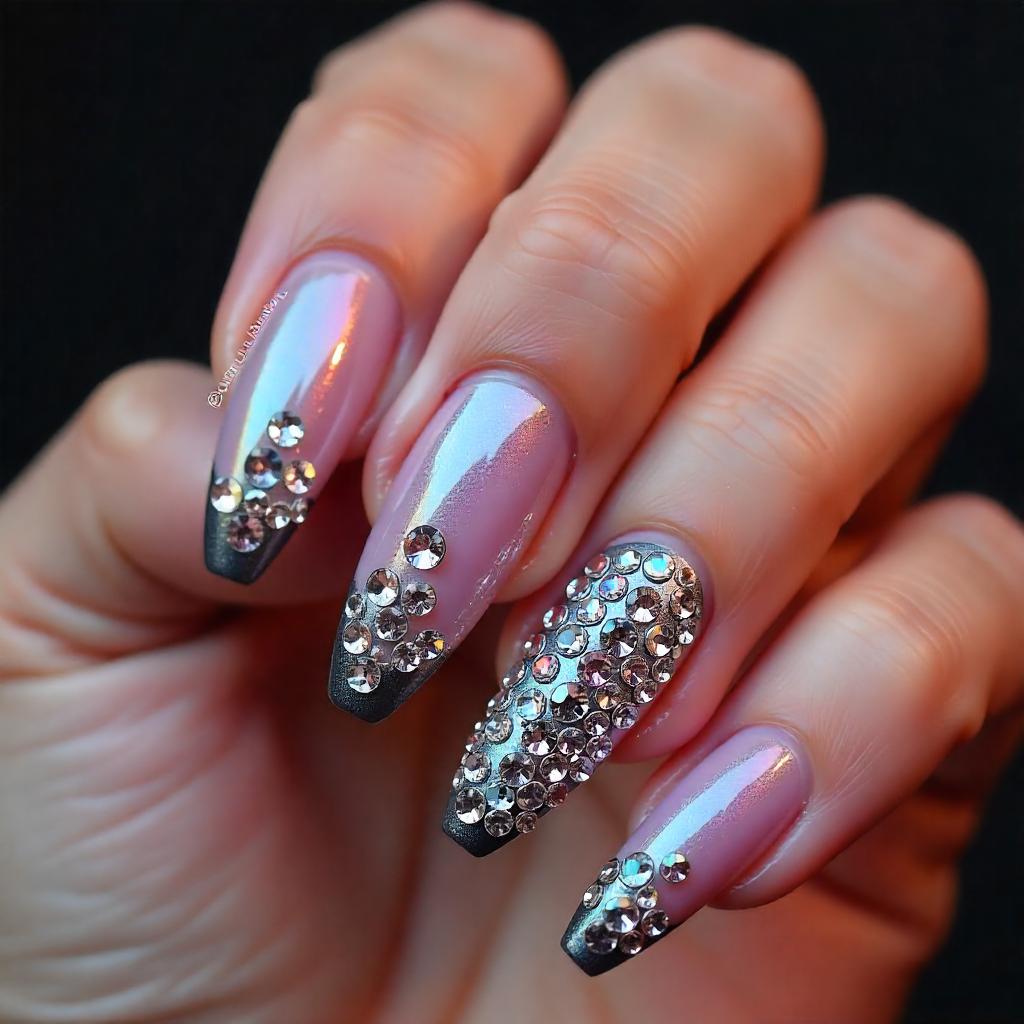

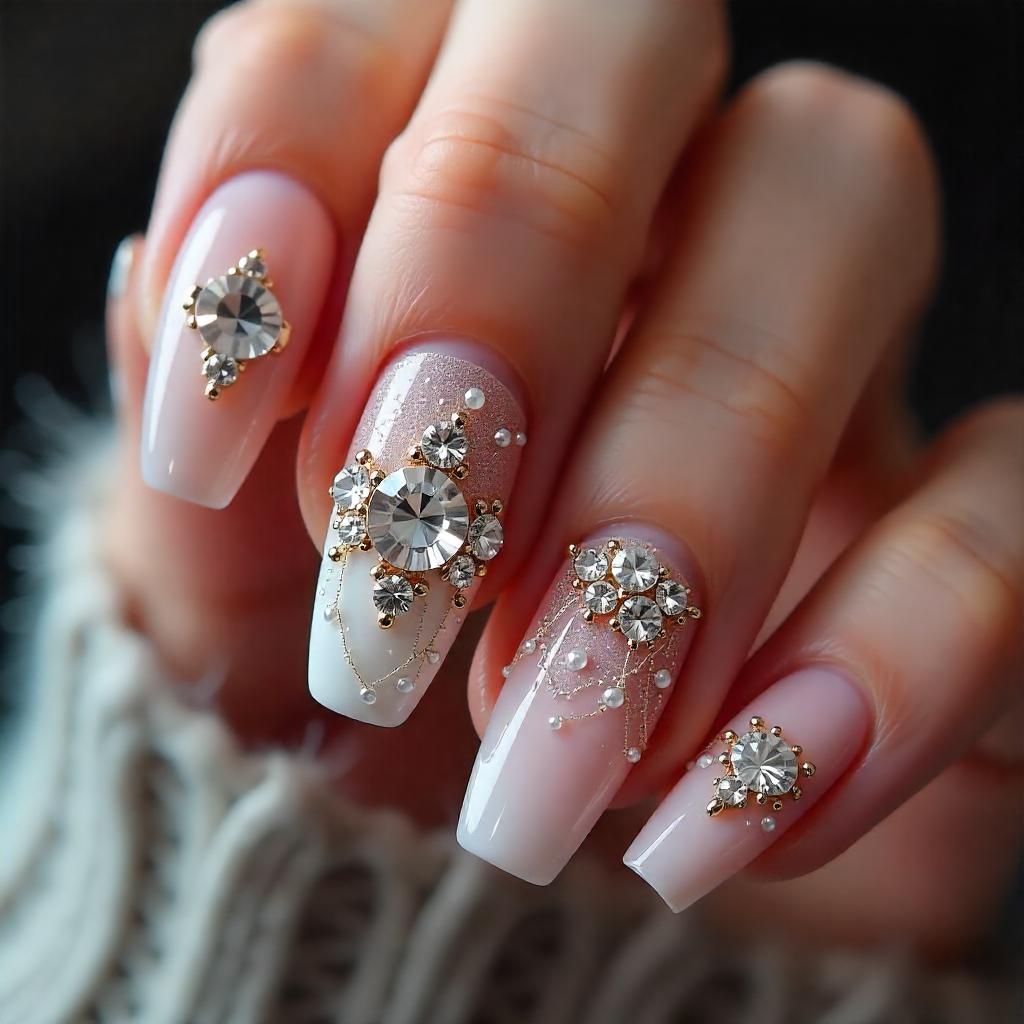

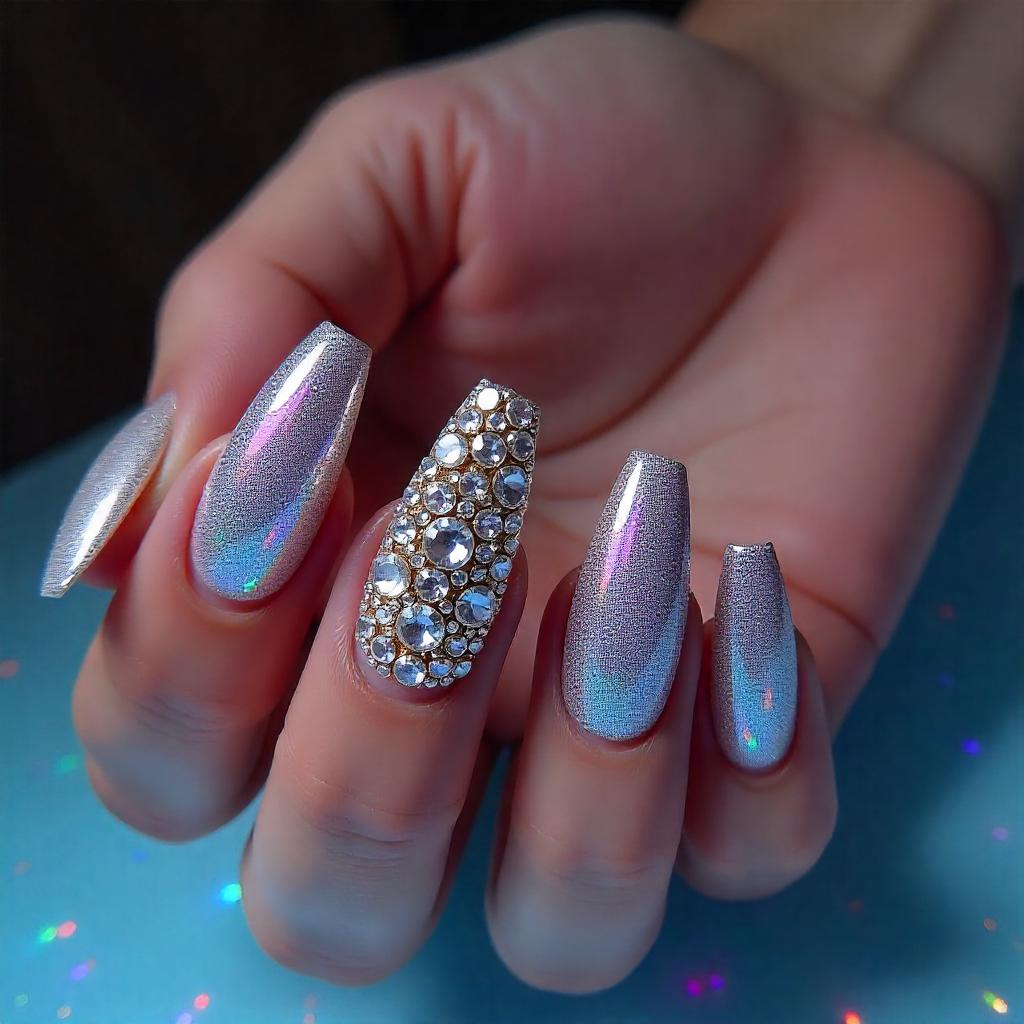

Dramatic Rhinestone Elegance These nails have a long, tapered shape and are gorgeous! The dramatic shapes of these nails are ideal for creating dazzling rhinestone patterns that will catch the eye. Imagine a black base with crystals strategically placed in the middle to give it depth.
Flat tops and narrow sides create a perfect canvas for linear rhinestone designs. Using a metallic base and varying-sized crystals, you can make a stunning waterfall look. It’s essential to use long lines and dramatic shapes that complement the architectural shape of your nail.
6. Almond Shaped Rhinestone Nail Designs
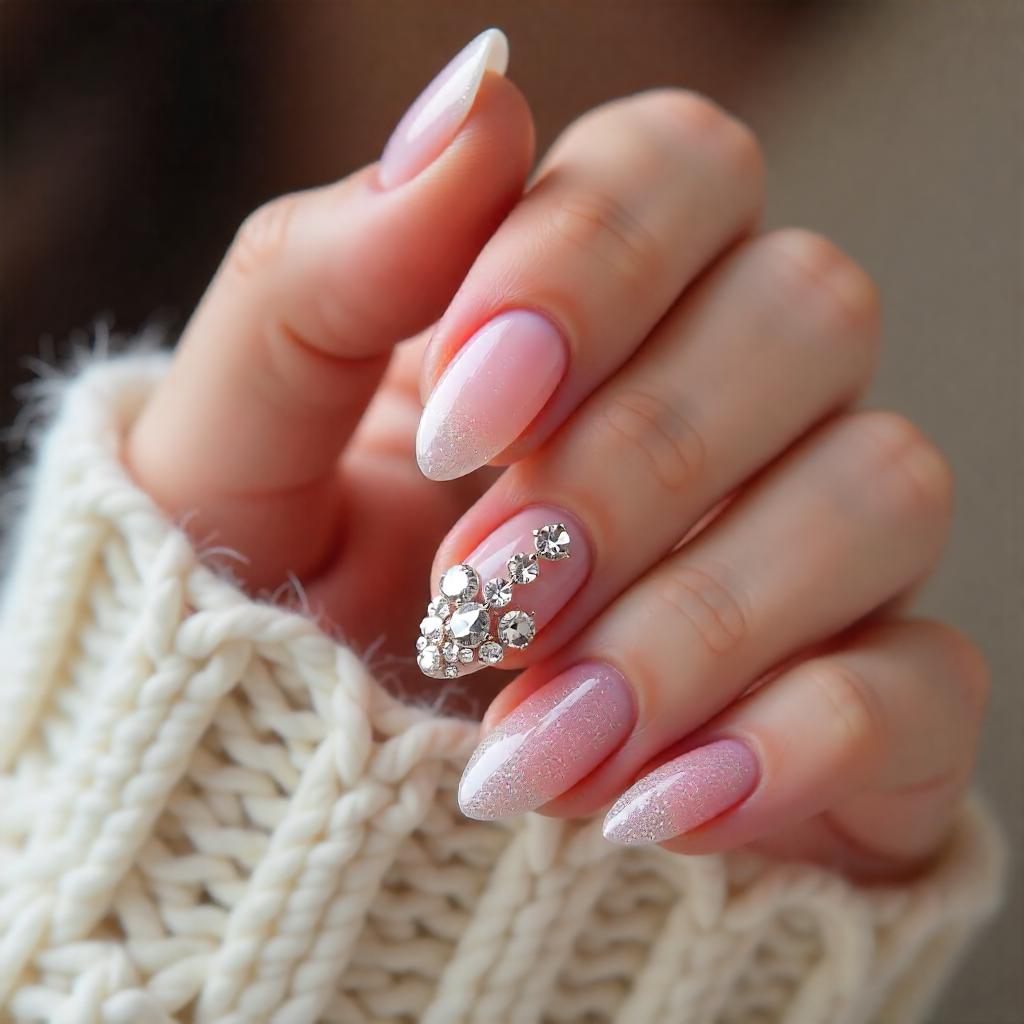

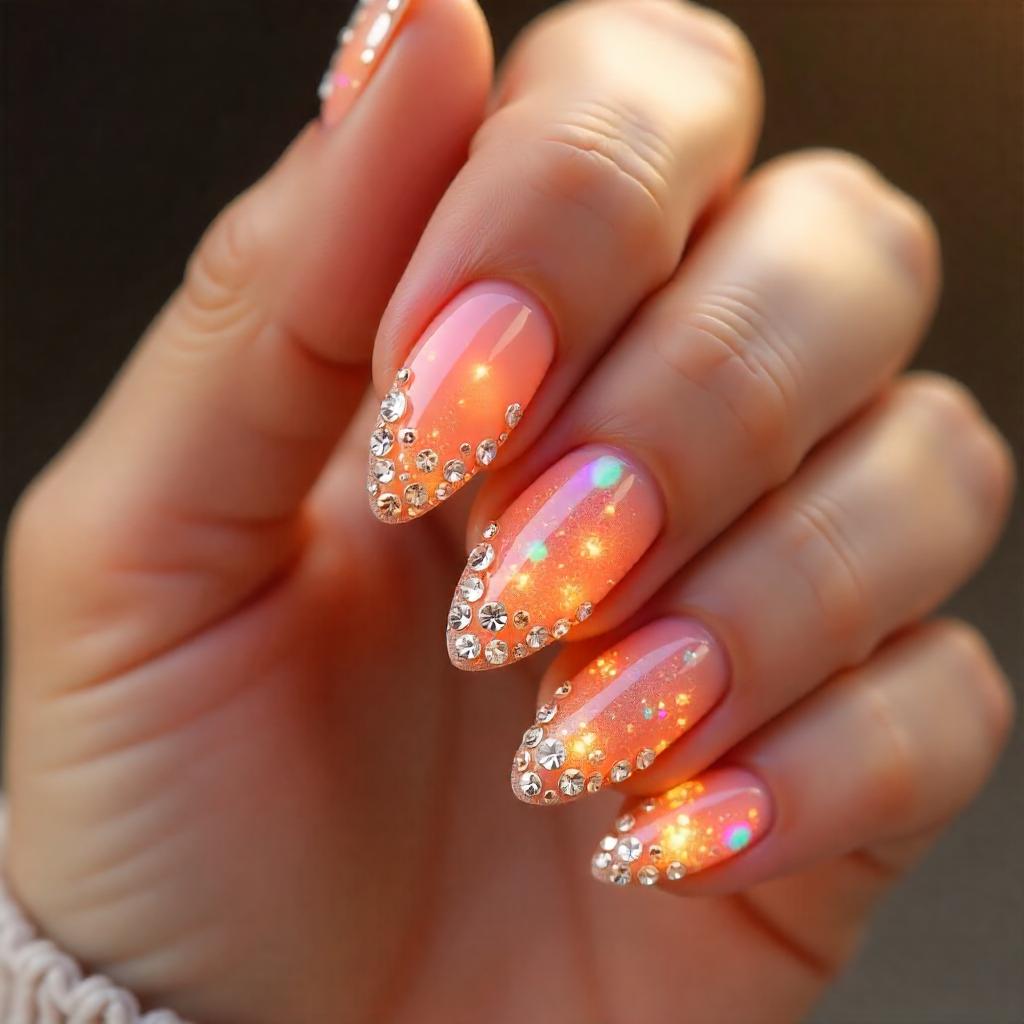

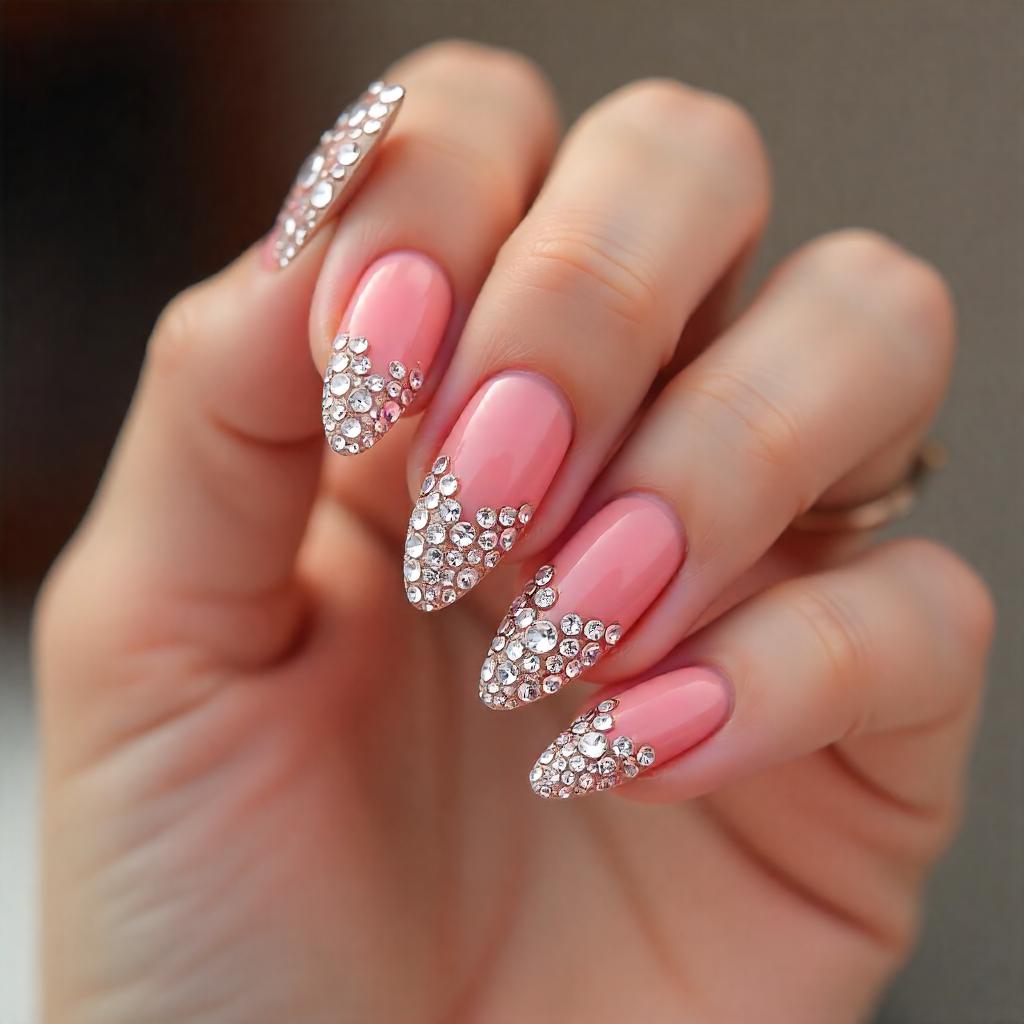

Almond nails embody feminine elegance, and the rhinestones elevate them to an entirely new level. The gently curving nails provide a canvas to create romantic, soft designs that follow the shape of your natural nails. Imagine delicate swirls of crystals following the natural curve of your nail or subtle stones in a gradient that gives a romantic and ethereal look.
Creating symmetrical or pointed crystal designs with the pointed tip is easy. You can make a French tip with a bare base and a cluster at the tip of rhinestones. The rhinestones will gradually disappear, giving you a soft sparkle. This shape is perfect for creating both minimalist and elaborate designs.
7. Oval Nails
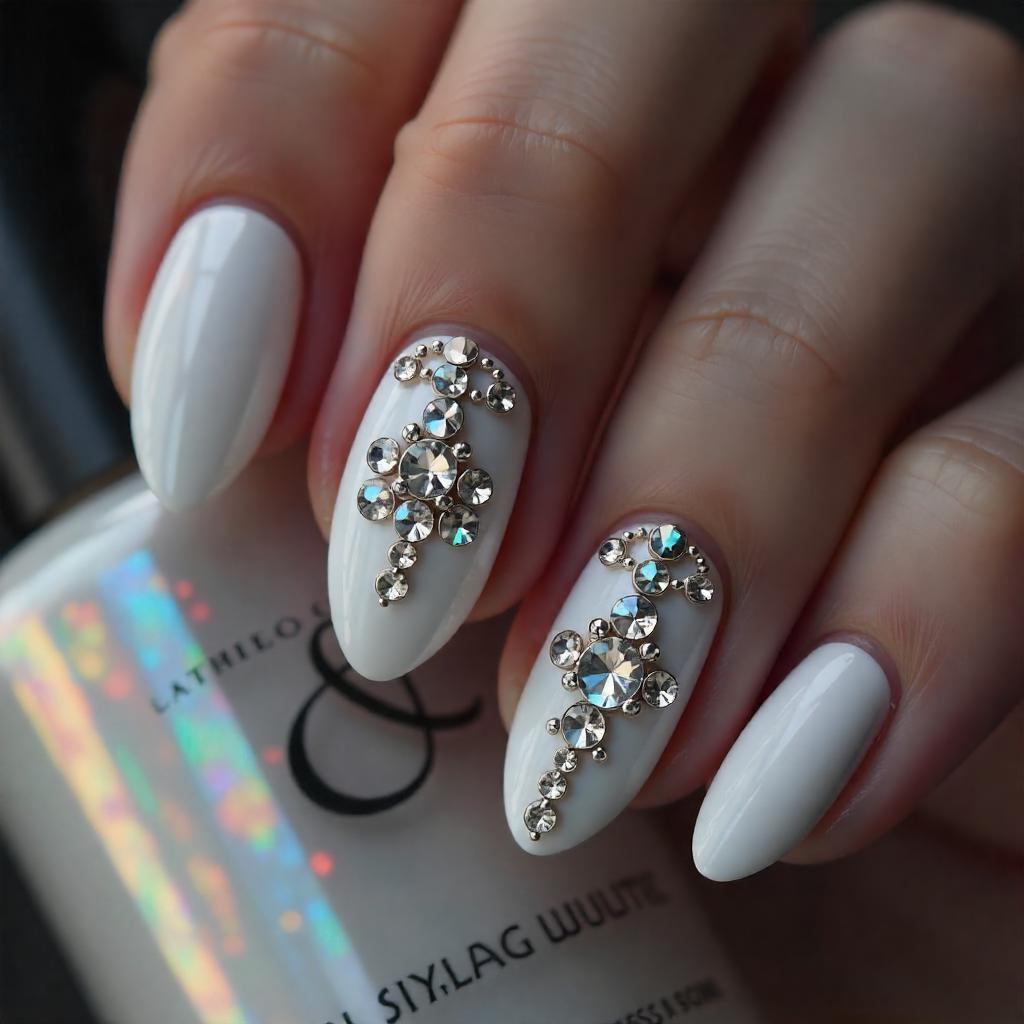

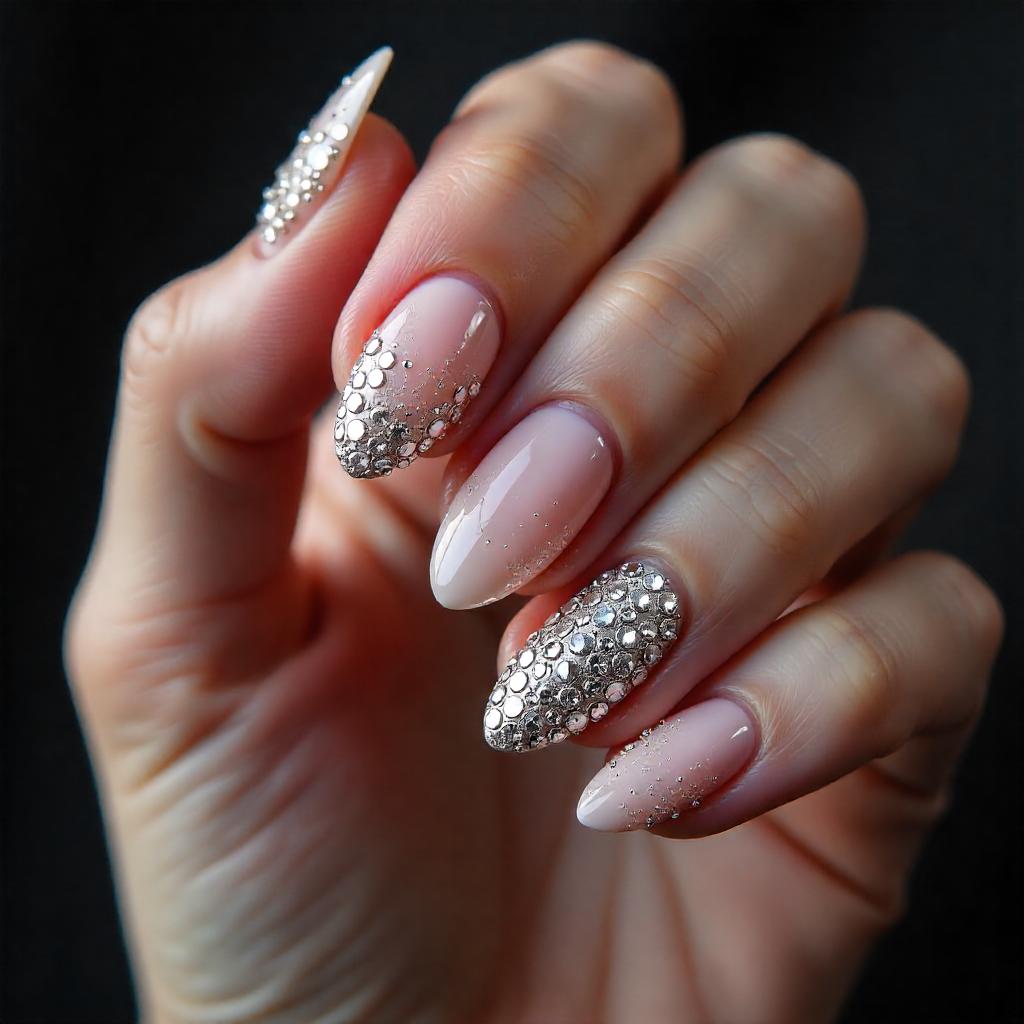

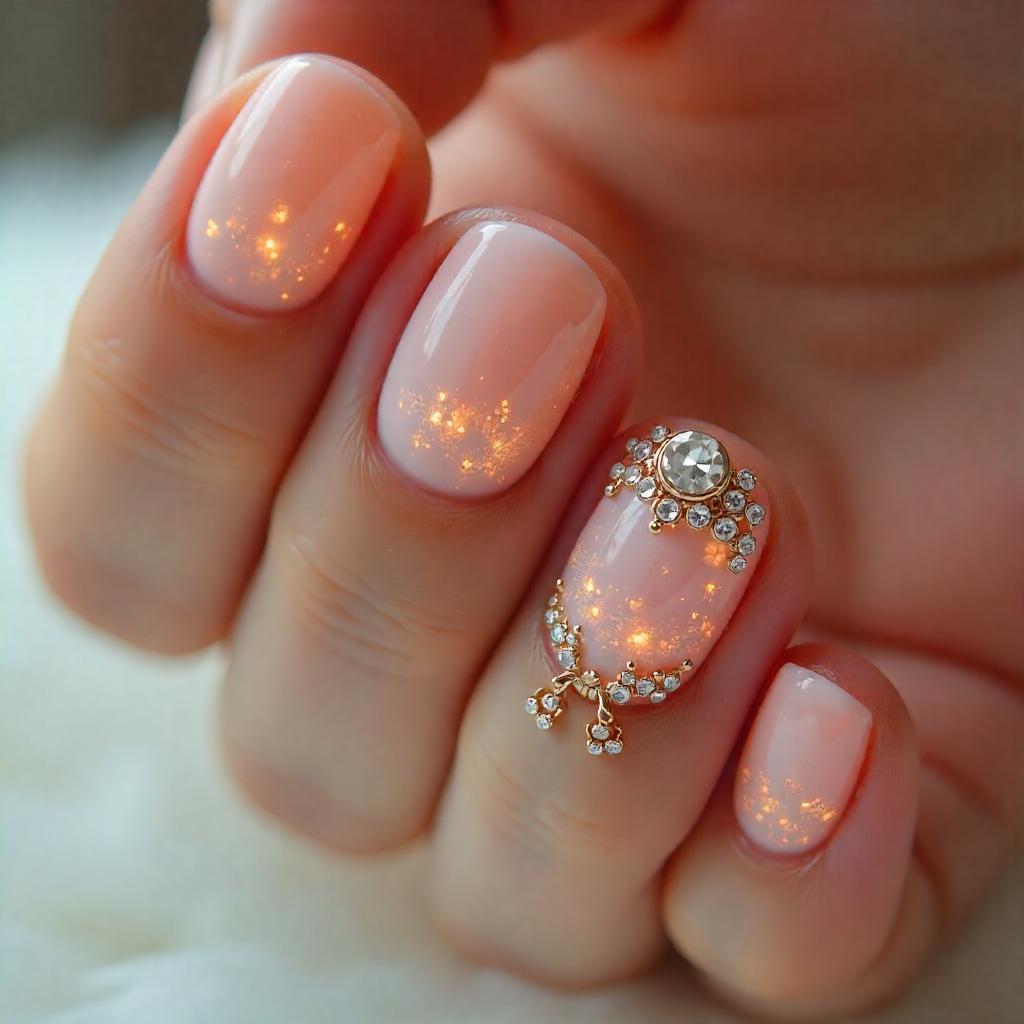

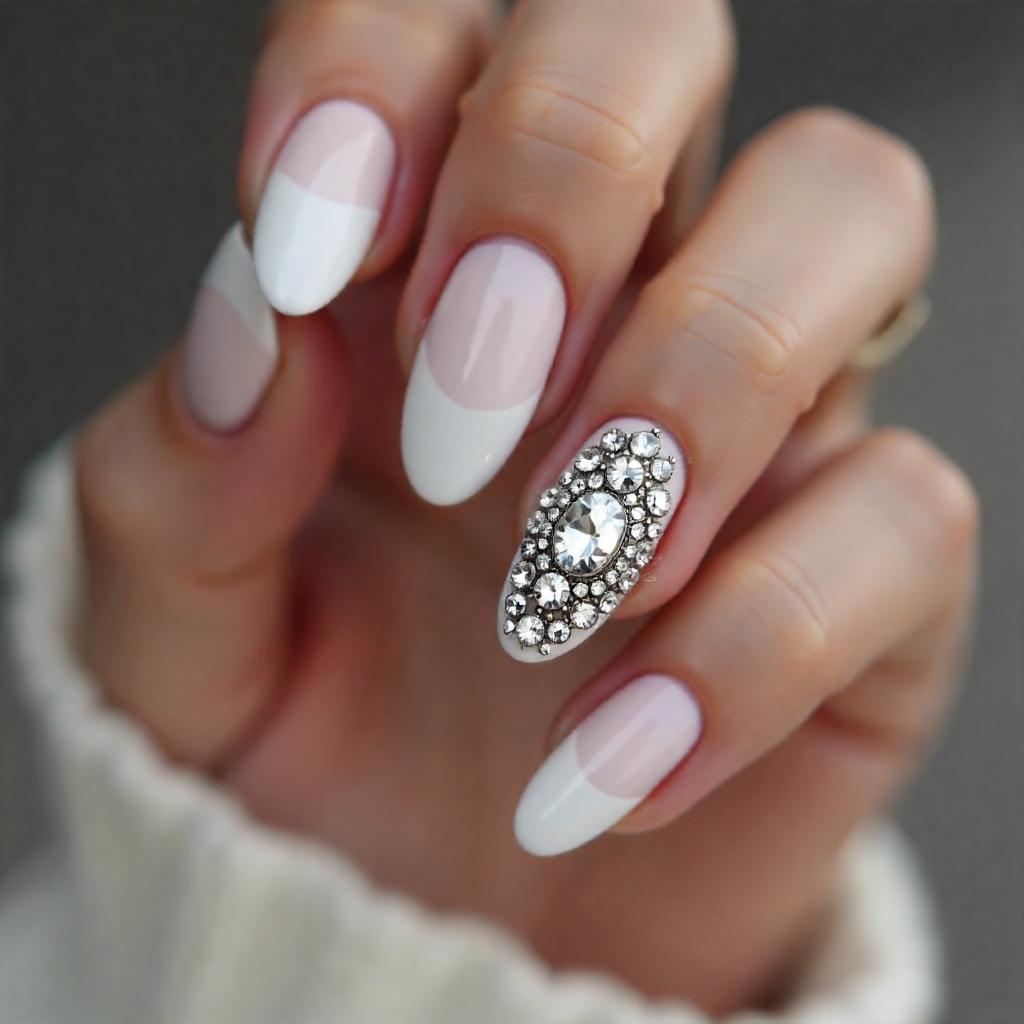

Perfect Symmetry with Rhinestones Oval nails have a smooth, balanced, universally flattering shape—the perfect base for creating symmetrical designs with harmonious and precise rhinestones. Imagine a classic white base with a centred cluster of stones or crystals. Mirror-image patterns are possible with smooth and rounded shapes.
You can create a mathematical and magical mirror effect using a metal base with the same stone pattern on both sides. The oval shape is perfect for creating geometric patterns or concentric circles with stones. It also makes a great accent design that shows off your attention to detail.
8. Geometric Rhinestone Square Nails
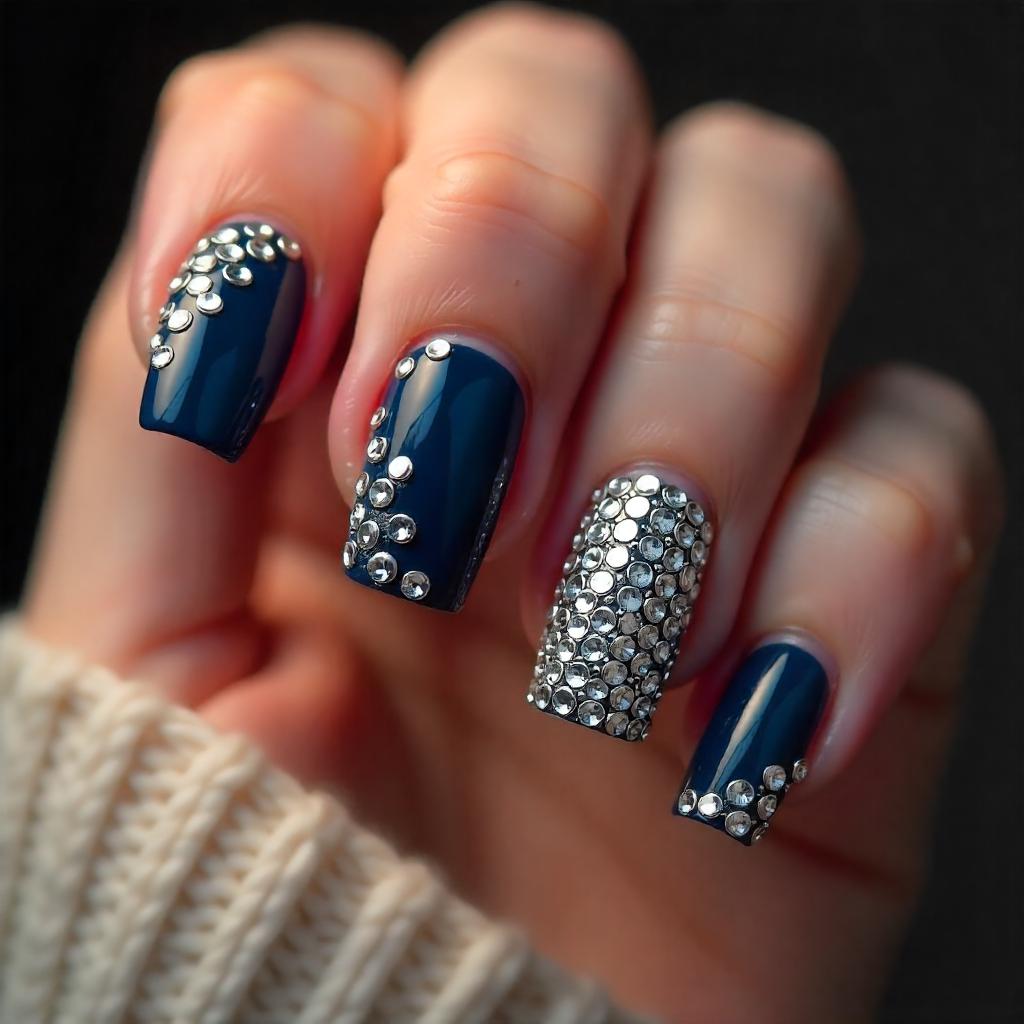

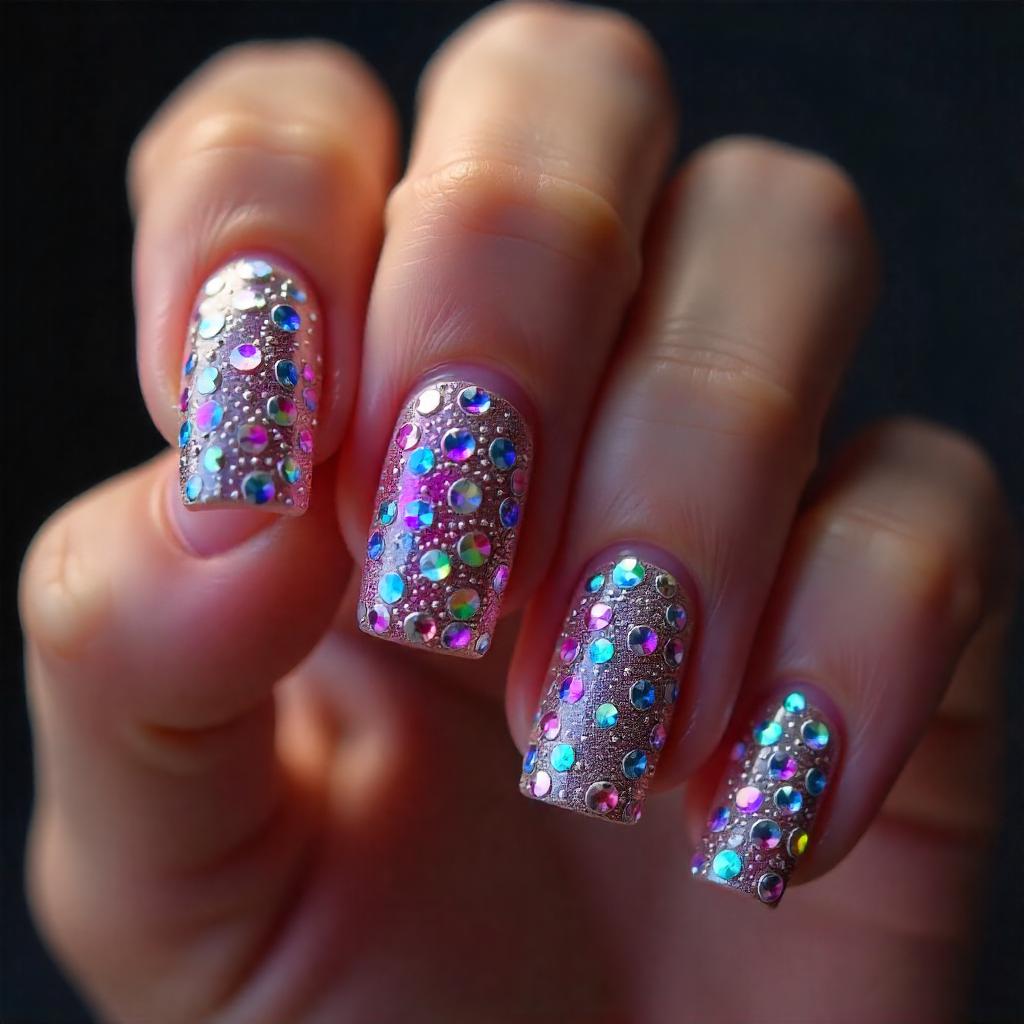

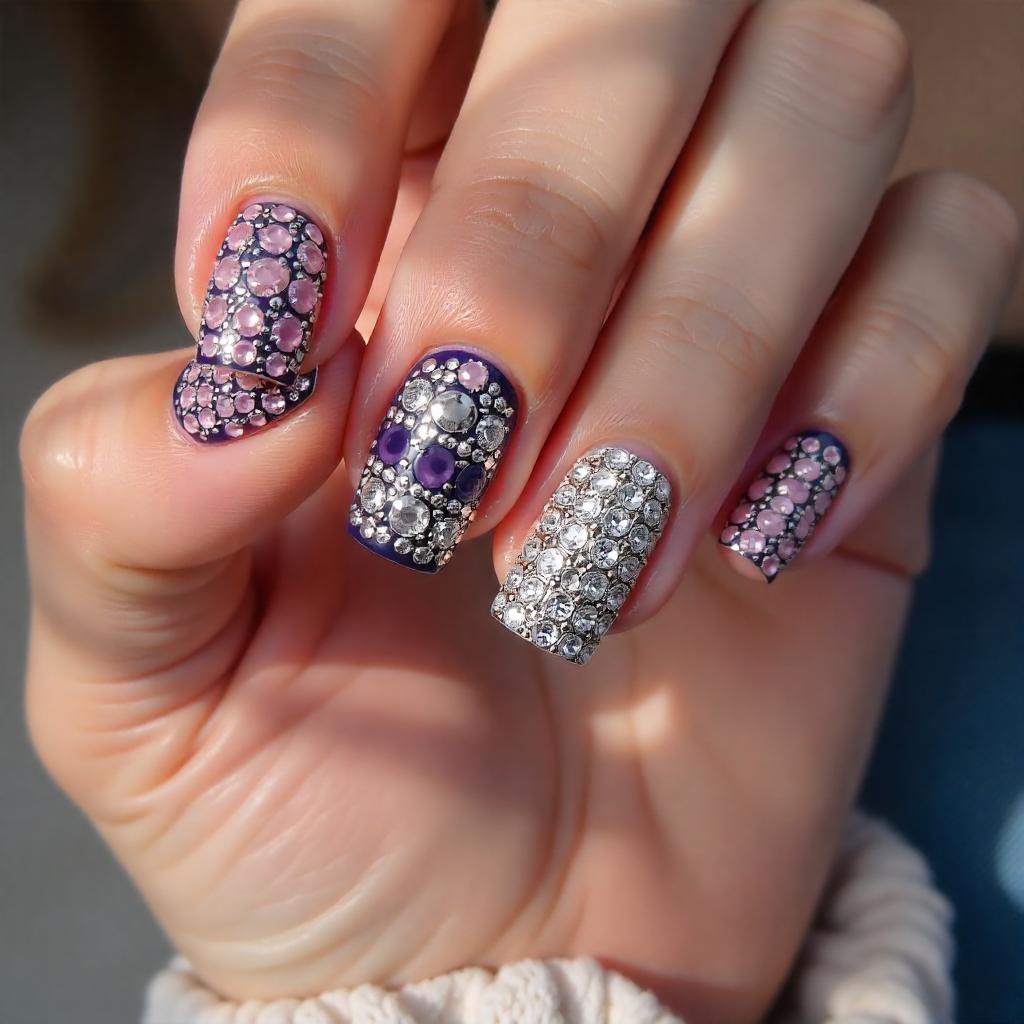

Square Nails, the architects of nail art, are bold and angular – perfect for creating geometric rhinestone masterpieces. Straight-edged nail designs are ideal for achieving linear, architectural, and symmetrical stone patterns. Imagine a deep navy base with grids of silver rhinestones or an elegant minimalist design using stones in geometric shapes.
Straight edges create clean angles and allow perfectly aligned stones. You can create a 3-D look with different-sized stones or use negative space to make a graphic pattern. For rhinestone designs that are bold, precise, and structured, square nails will do the trick.
Style Tips and Tricks for Every Shape:
- Size stones to nail length
- Take into consideration your style
- Placement can be a challenge.
- Combine textures and finishes
- Break the rules without fear!
Recommended: Gold and Blue Nail Designs: Trending Looks for 2024
Seasonal and Thematic Designs: Sparkle All Year Round
9. Winter Wonderland Rhinestone Nail Design
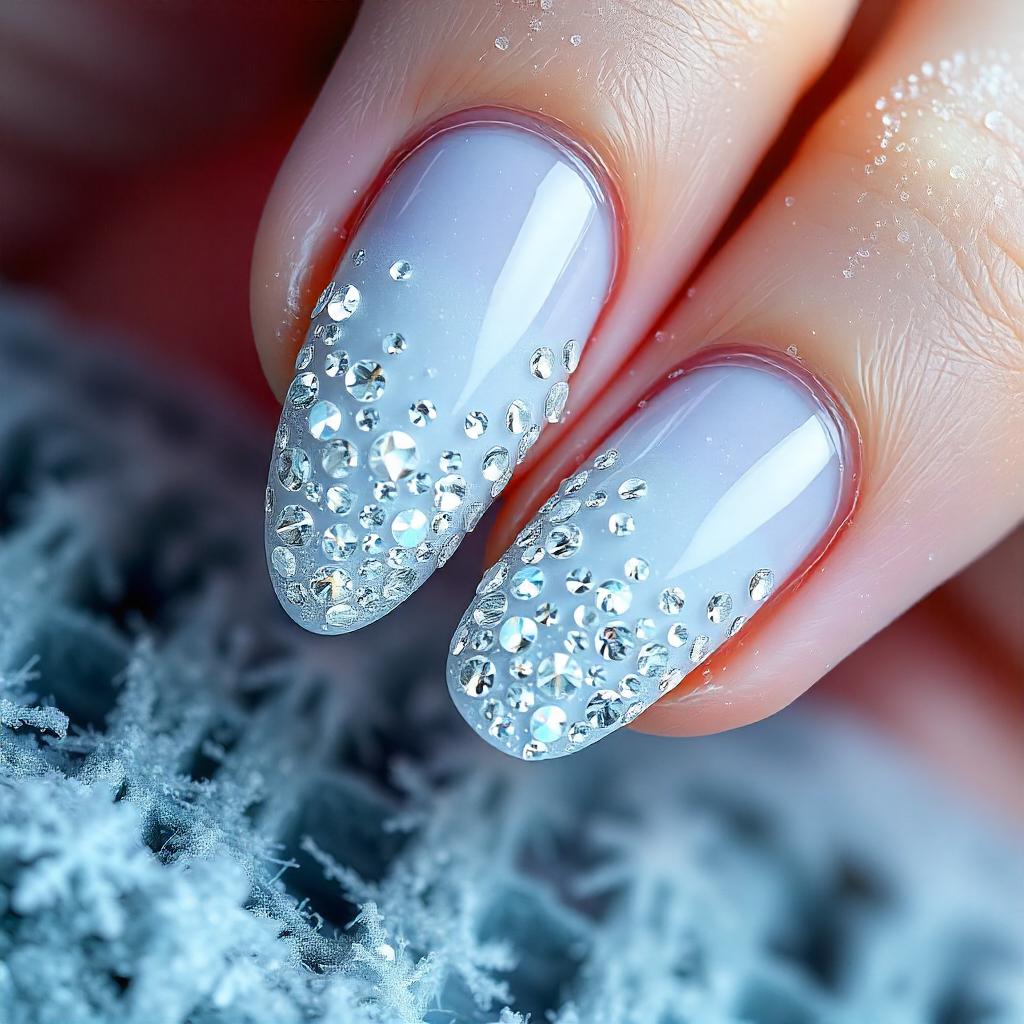

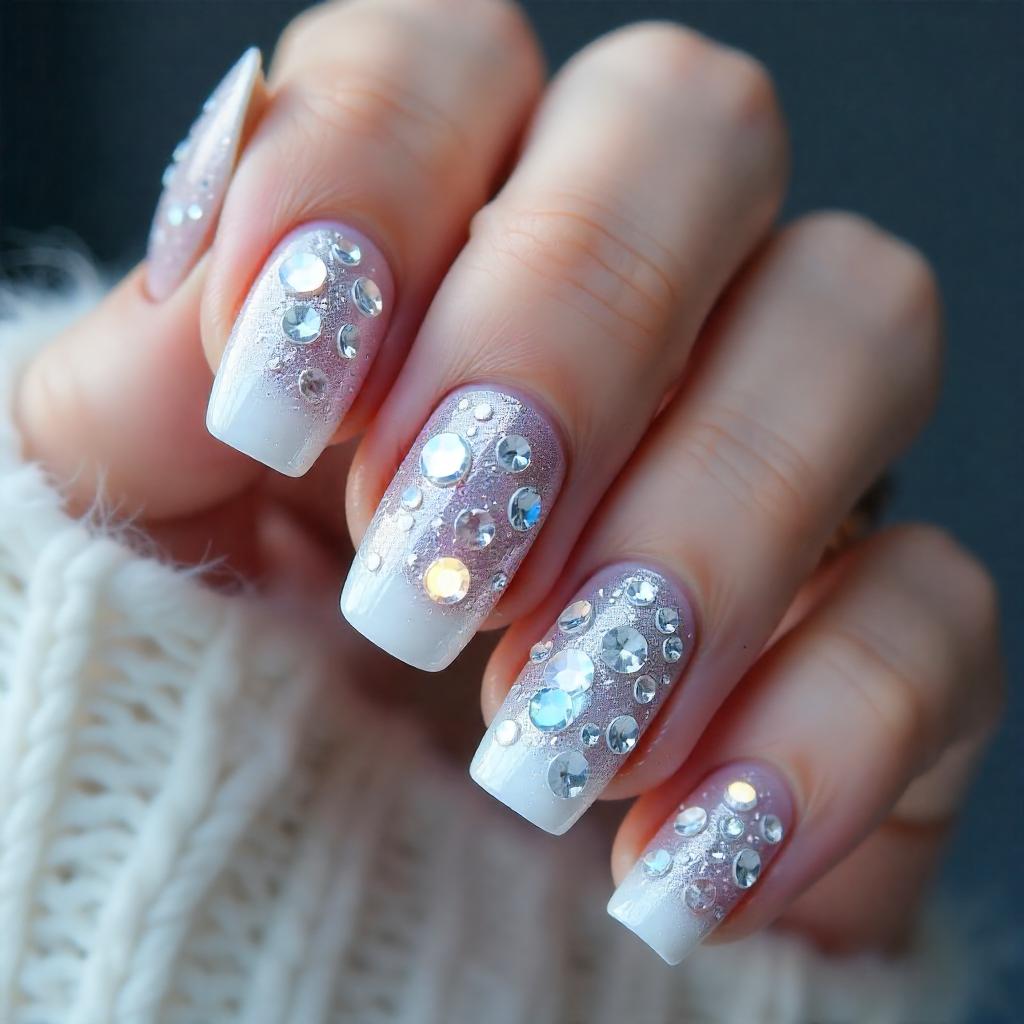

Winter is the ideal time to create sparkling nail designs that capture the magic of frost and snow. Imagine turning your nails into an enchanting winter scene with silvery-white and icy-blue base colors. Spread crystal rhinestones to create a frosty, delicate effect. Choose cool tones like clear crystals, silver crystals, or iridescent stones that reflect light like ice.
Use techniques such as gradient backgrounds, patterns inspired by snowflakes, or negative space. Add metallic accents or chrome powders for a wintery look. Try different sizes of stones – small stones to create a subtle sheen or larger stones to make a dramatic statement. Winter nails are a wonderland for elegance and glamour.
10. Summer Sparkle Rhinestone Designs
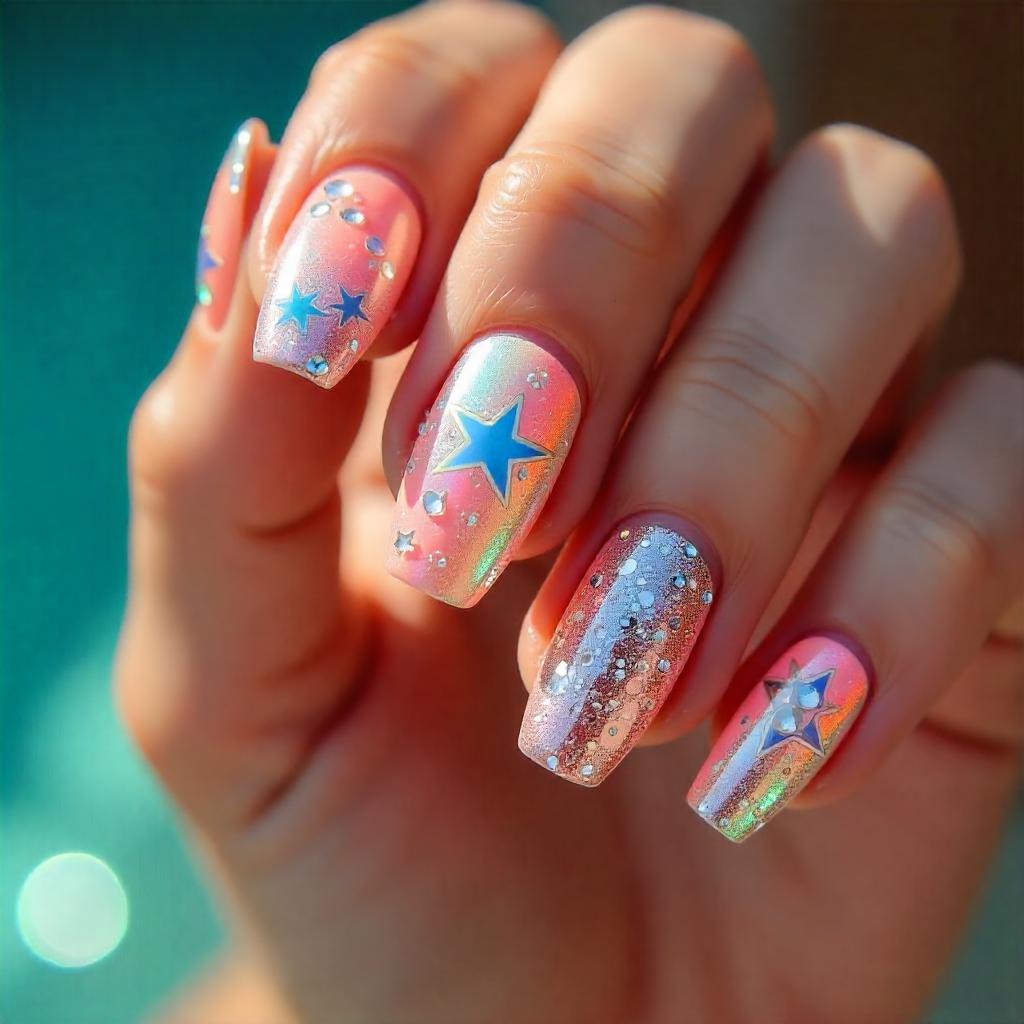

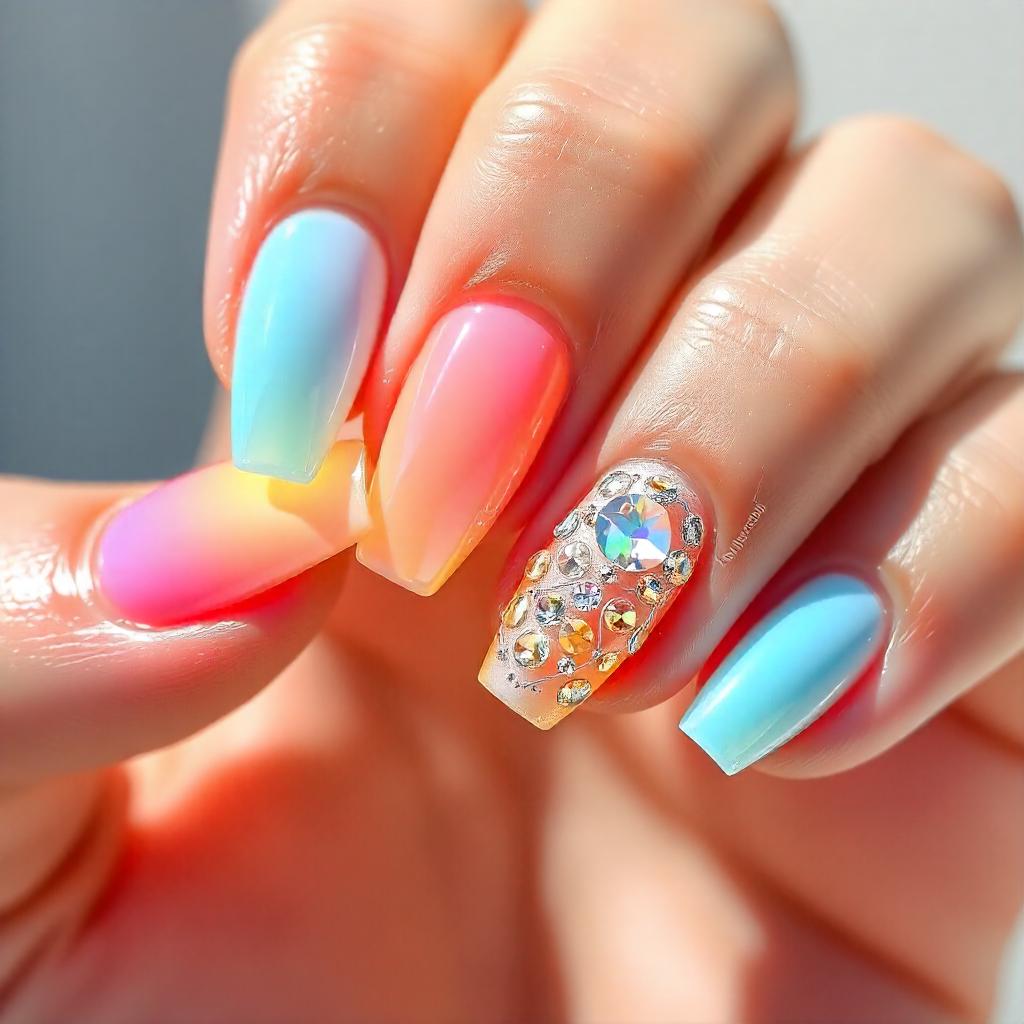

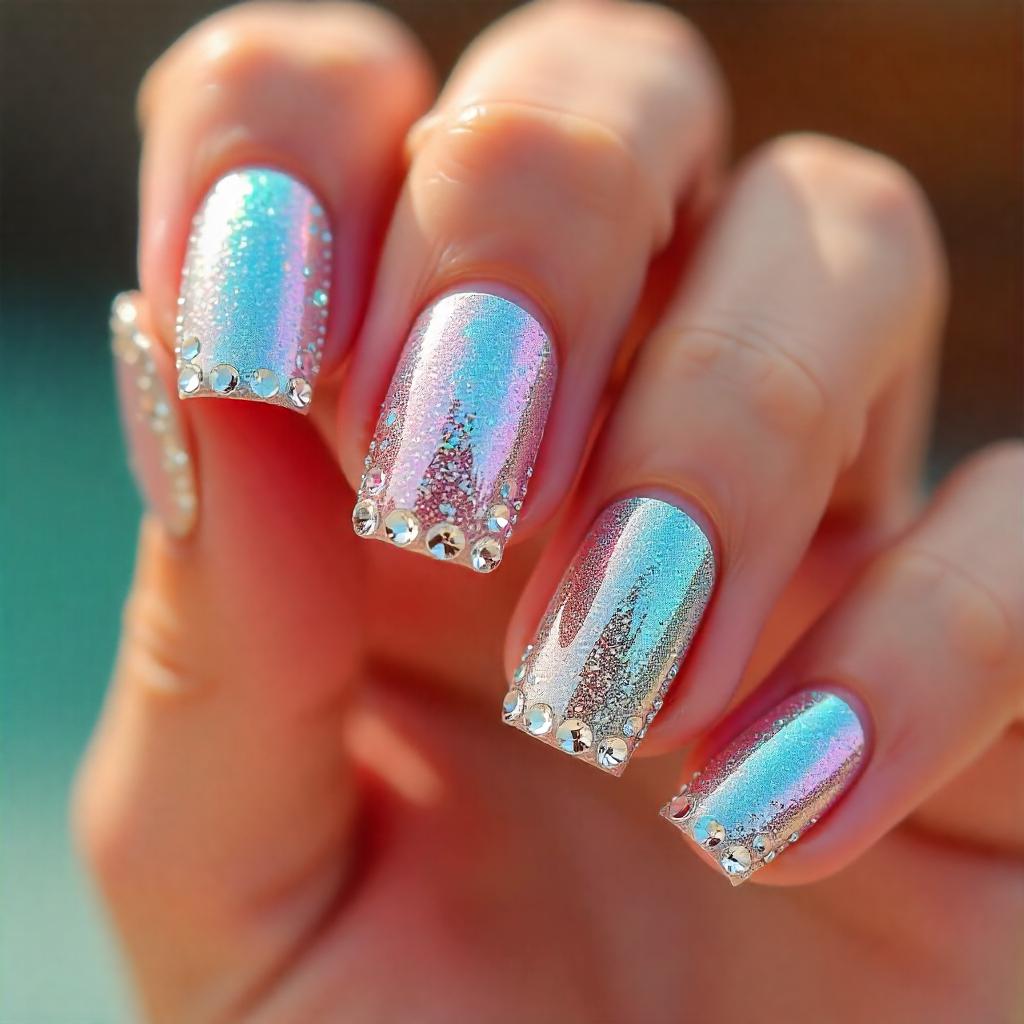

Summer nail designs should be bold and vibrant, celebrating fun in the sun. Use bright colors such as coral, turquoise and sunny yellow as a base. Rhinestones are your secret weapon to create eye-catching summer nails that sparkle in the sun. You can use holographic or iridescent stone to create the illusion of tropical beach vibes.
Think about designs inspired by the summer – sunsets, seashells or tropical flowers. You can also use geometric patterns to remind you of pool or beach umbrellas. For maximum effect, combine neon colors and crystal stones. Try full-coverage designs and strategic accent placements. Stones can be used to create ombre effects that mimic a summer sunset. Your nails can reflect the summer’s carefree, bright spirit.
You May Also Like: 90 Light Purple Nail Designs 2024: You Need to See Today!
Occasion-Specific Looks
11. Wedding Nails: Subtle, Elegant Crystals
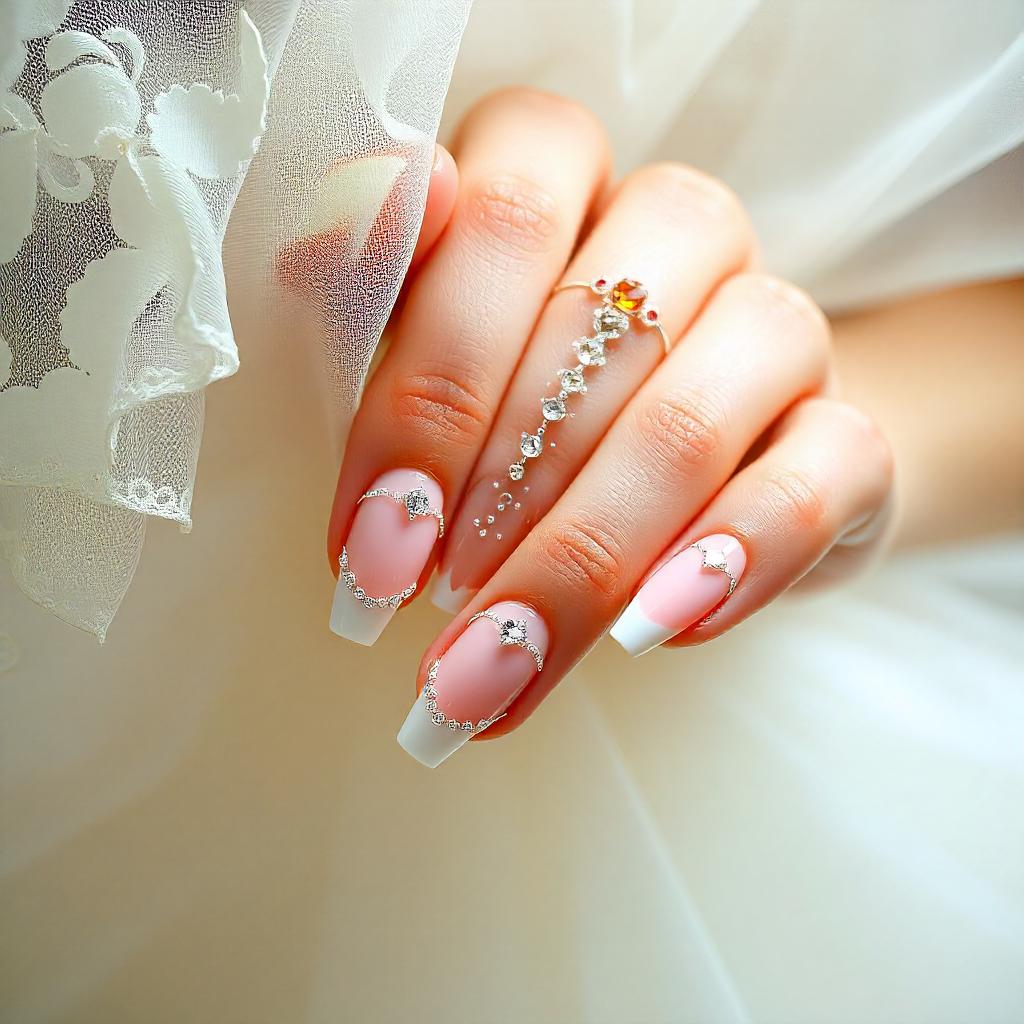

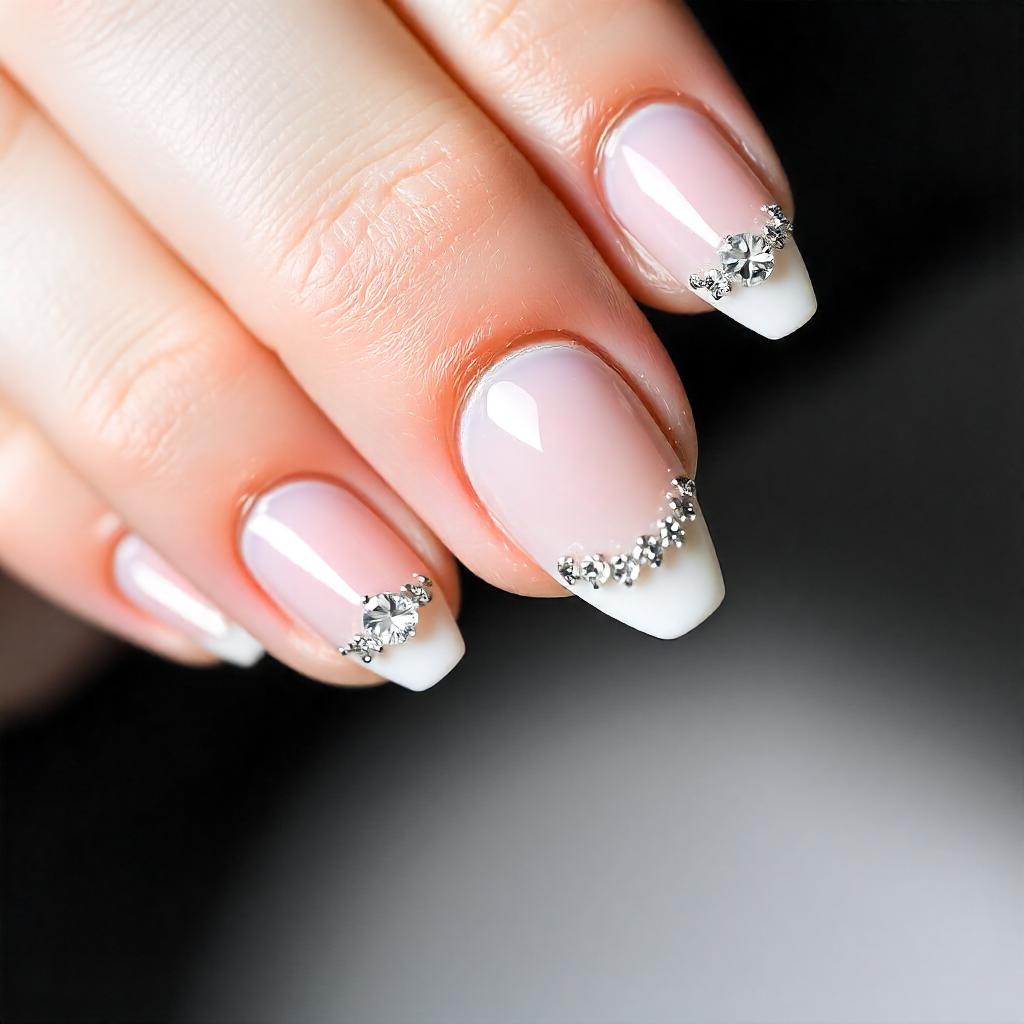

Think about subtle, understated rhinestone nail designs that complement your dress without taking the spotlight. Consider subtle, elegant rhinestones that complement your gown without taking the limelight. Soft nude or paler pink base colors work beautifully with strategically placed tiny crystals. You can use a French nail tip or accent nail to create a subtle crystal pattern.
The combination of pearly rhinestones on a white or ivory base creates a sophisticated, romantic look. Swarovski Crystals will give you maximum sparkle and minimum bulk. You want to make your bridal rings shine and your overall beauty while adding sparkle to your nails.
12. Party Time: Go Full-On Glam
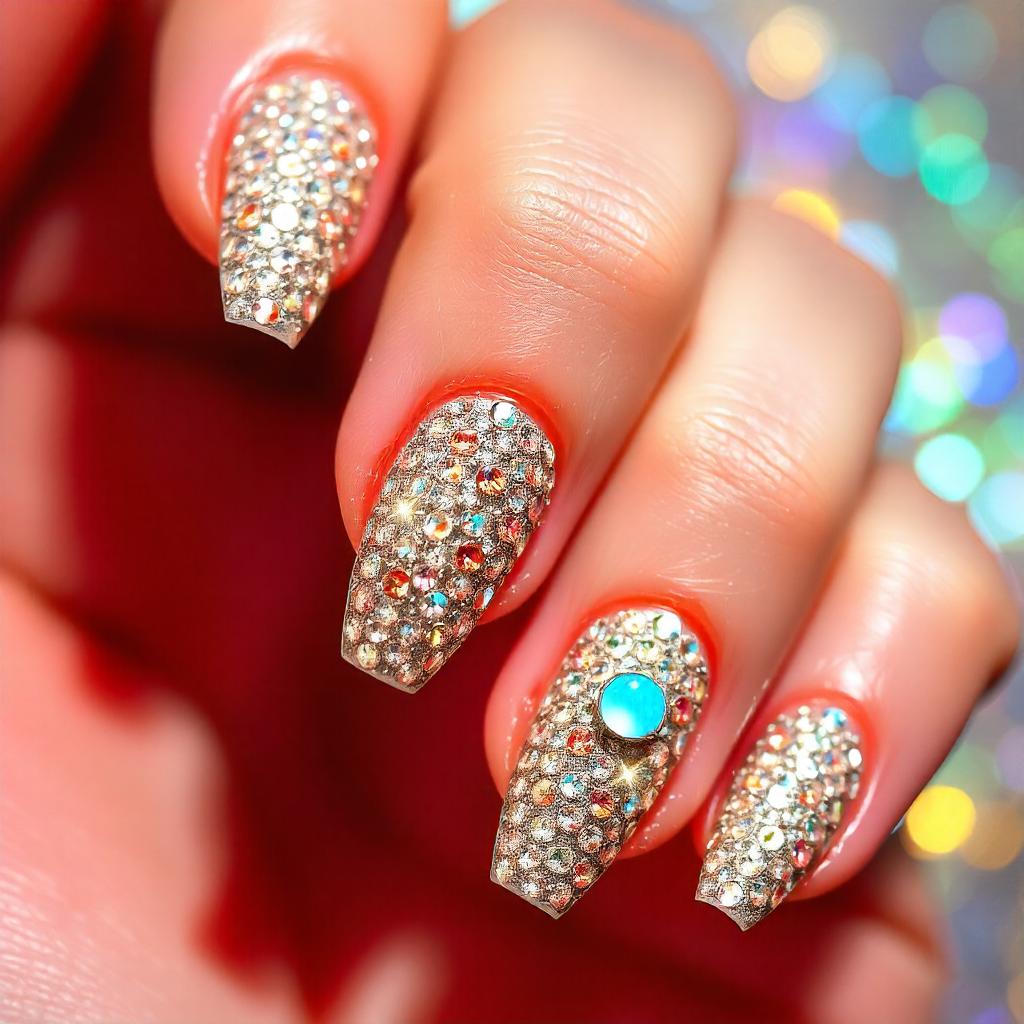

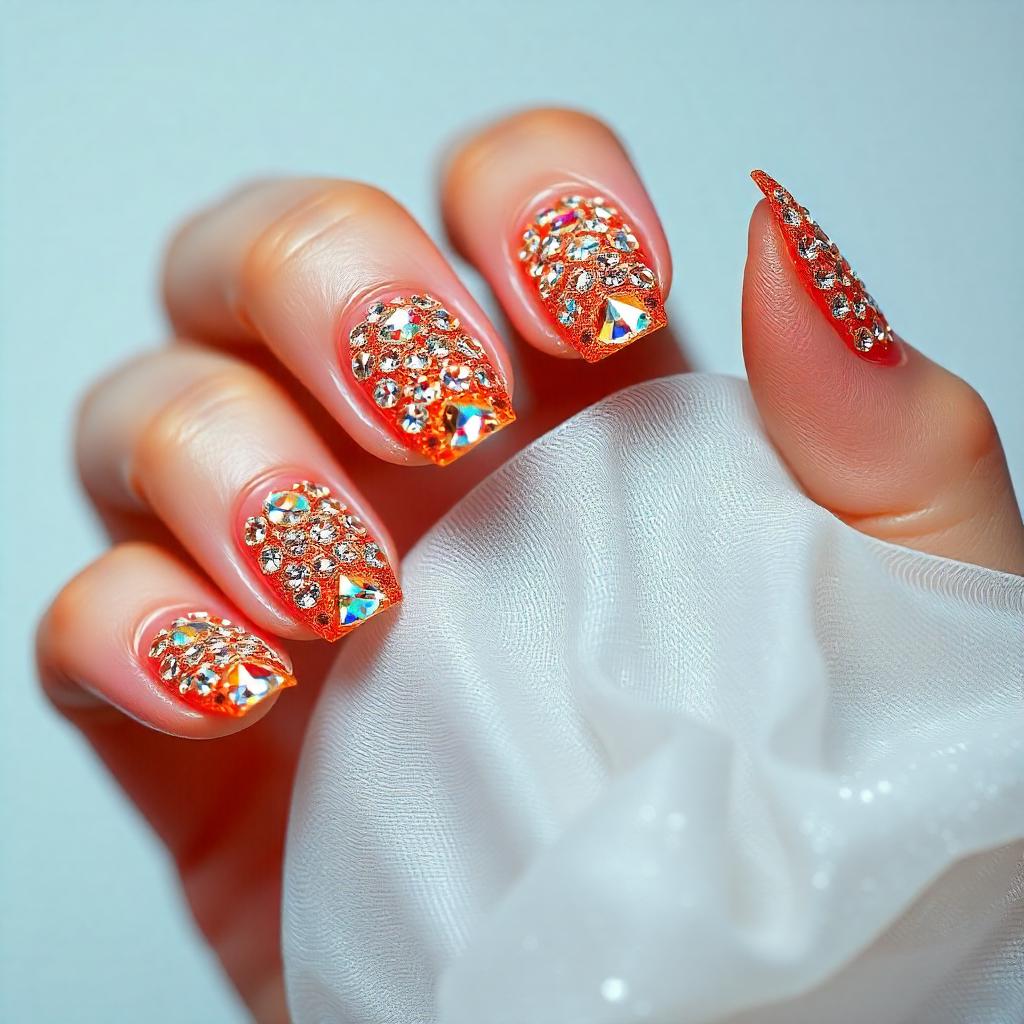

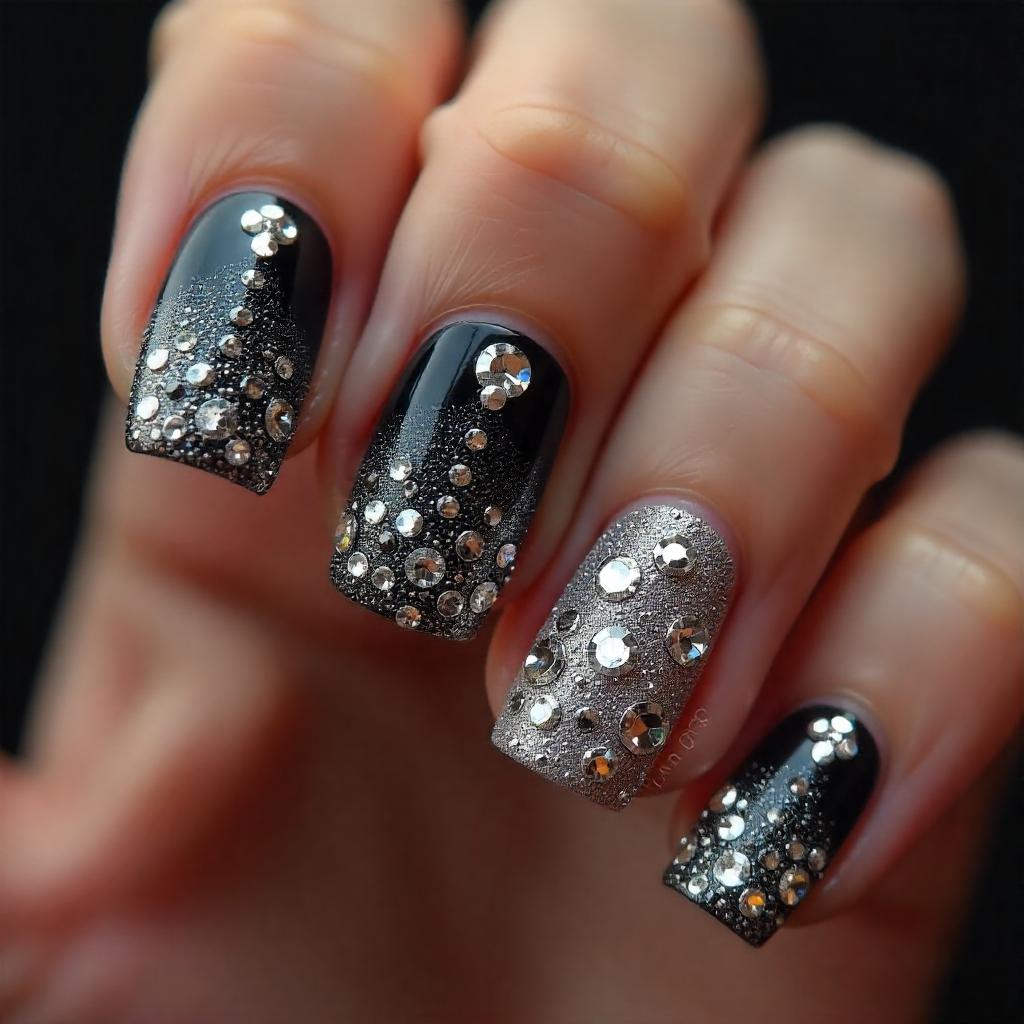

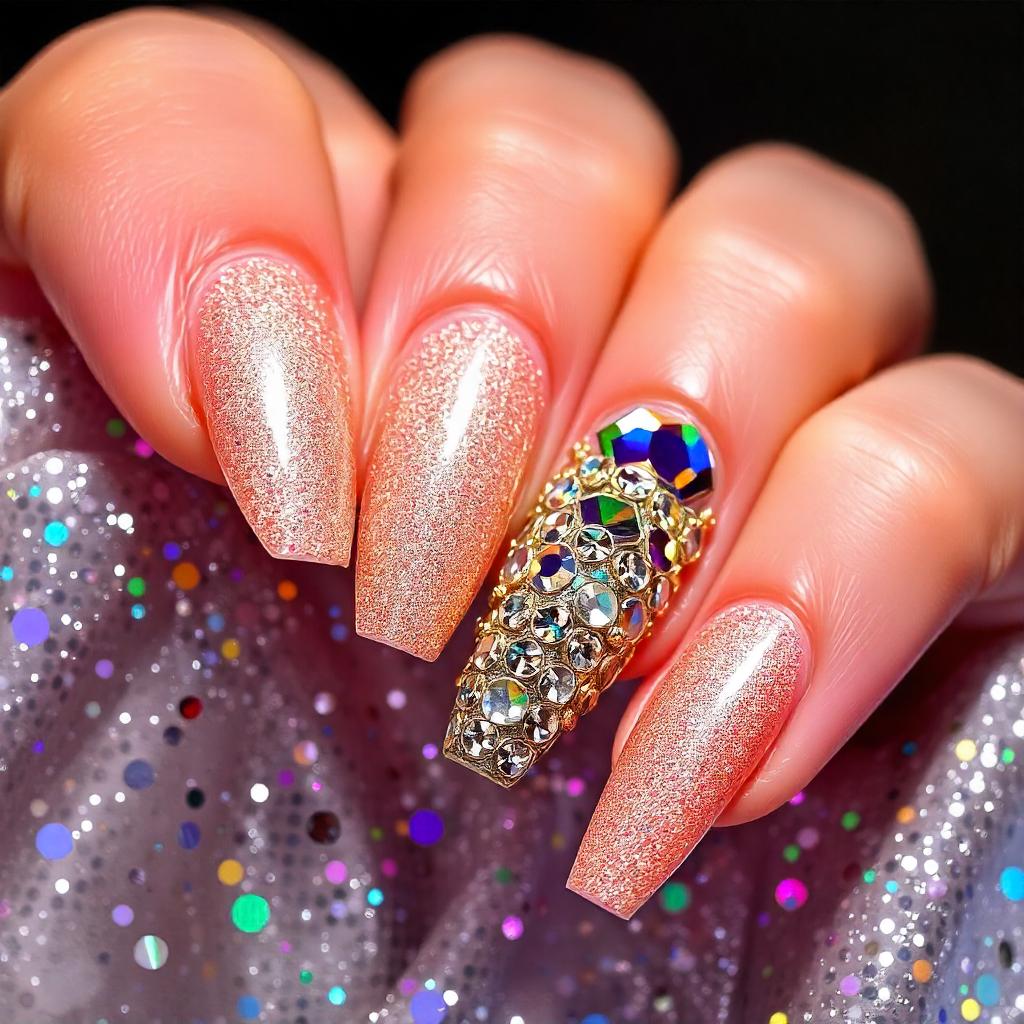

Go big when it comes to the party! Here’s your chance to make an impact and show off maximum sparkle. Consider bold and dramatic designs using multiple rhinestone methods. You can create an ombre look by increasing the density of stones, or you can cover your nails with crystals in different sizes to achieve a disco ball effect.
Metal bases such as gold, silver or jewel-toned tones are the ideal backdrops for extravagant rhinestones. Create intricate designs or 3D patterns to catch the light. Use holographics and stones of different sizes and colors in unexpected combinations. Party nails are all about unabashed glamour.
13. Professional Setting: Understated but Classy Stone Accents
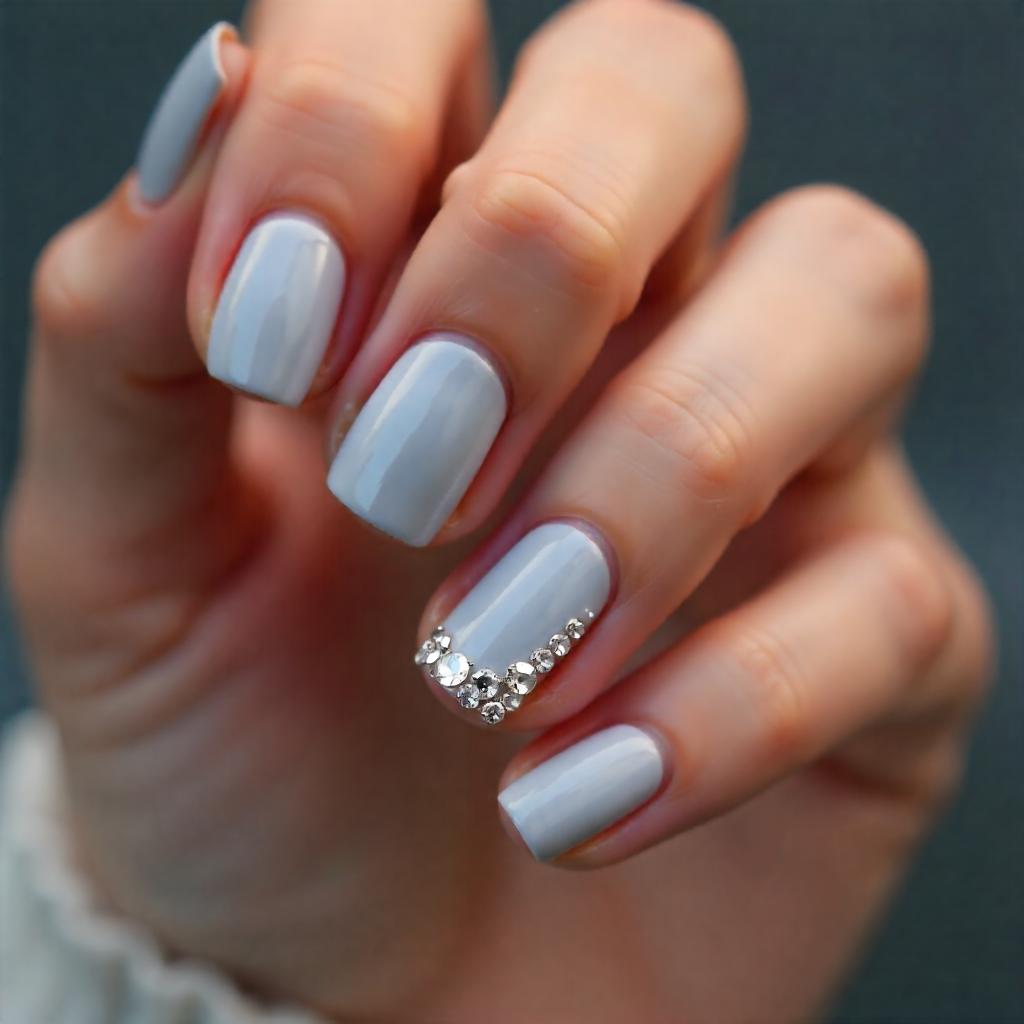

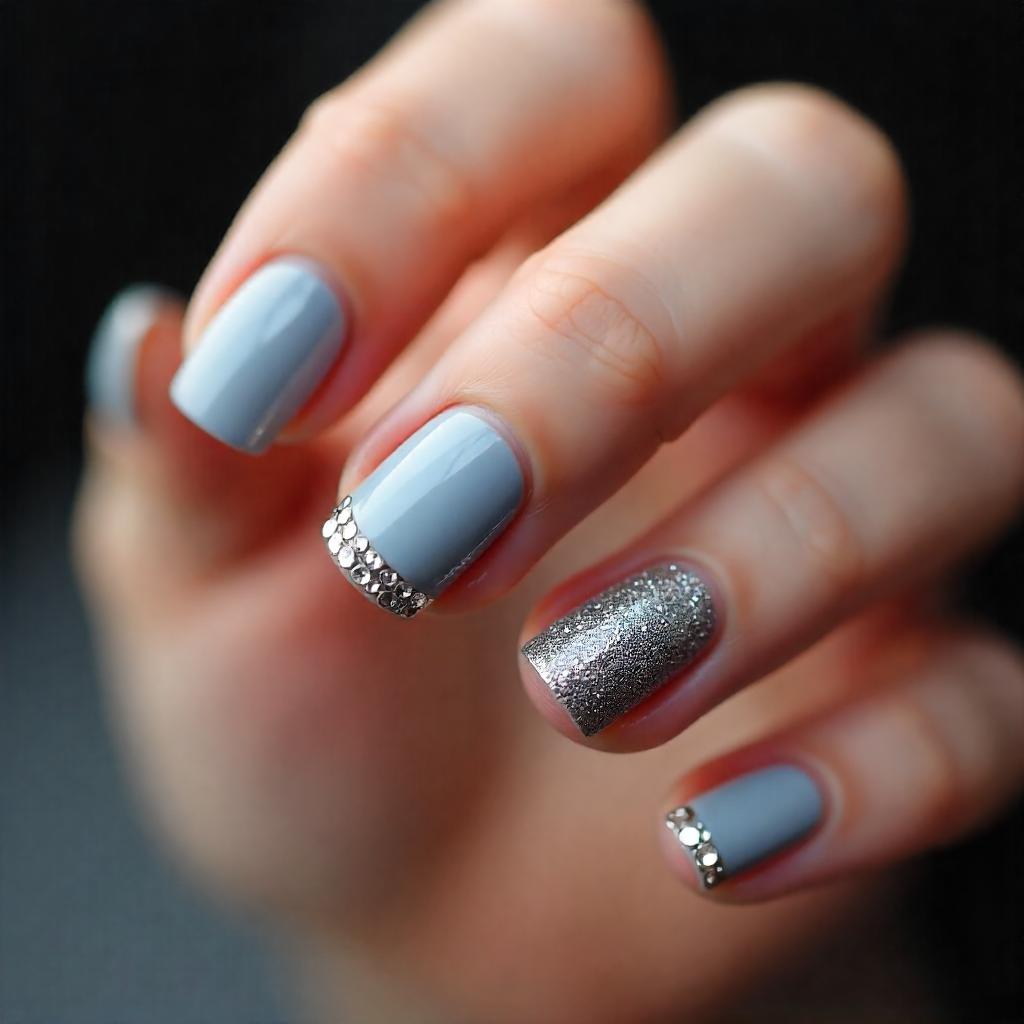


Rhinestone nail designs in a professional setting requires an elegant, refined approach. Consider a minimal and sleek placement of stones that conveys confidence but is not distracting. Neutral color palettes, such as soft grays or muted shades of blue, work well. One accent nail, with a fine, exact line of crystals or subtle moon crystals at the base, can be just the right amount of personality.
Select small stones with neutral or metallic tones. Avoid designs that are multicolored or massive. You want to appear polished, put together, and have a touch of style. The designs are a way to say, “I am professional but also have a sense of style.”
Latest Rhinestone Techniques: Level Up your Nail Game
Are you ready to be a little fancy? Here are some ideas to get you started:
14. 3D Embellishment Techniques
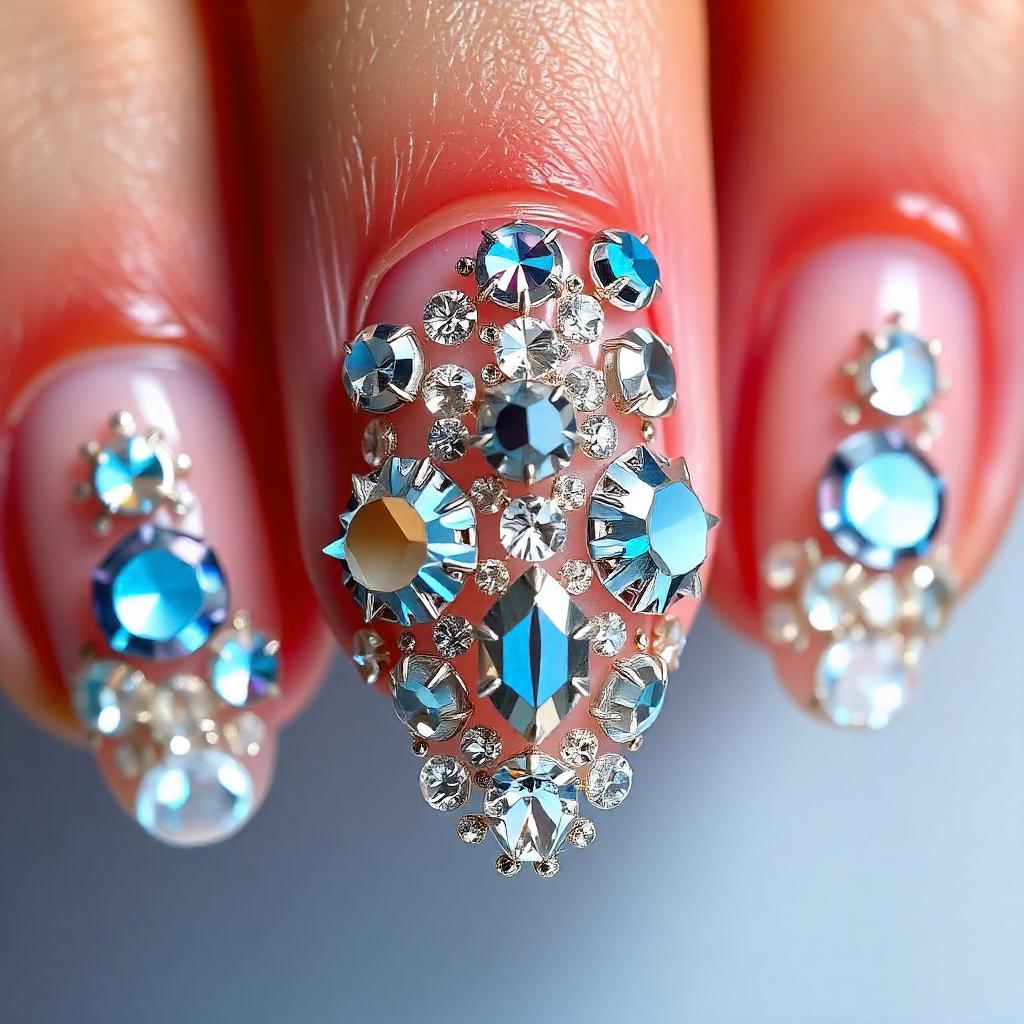

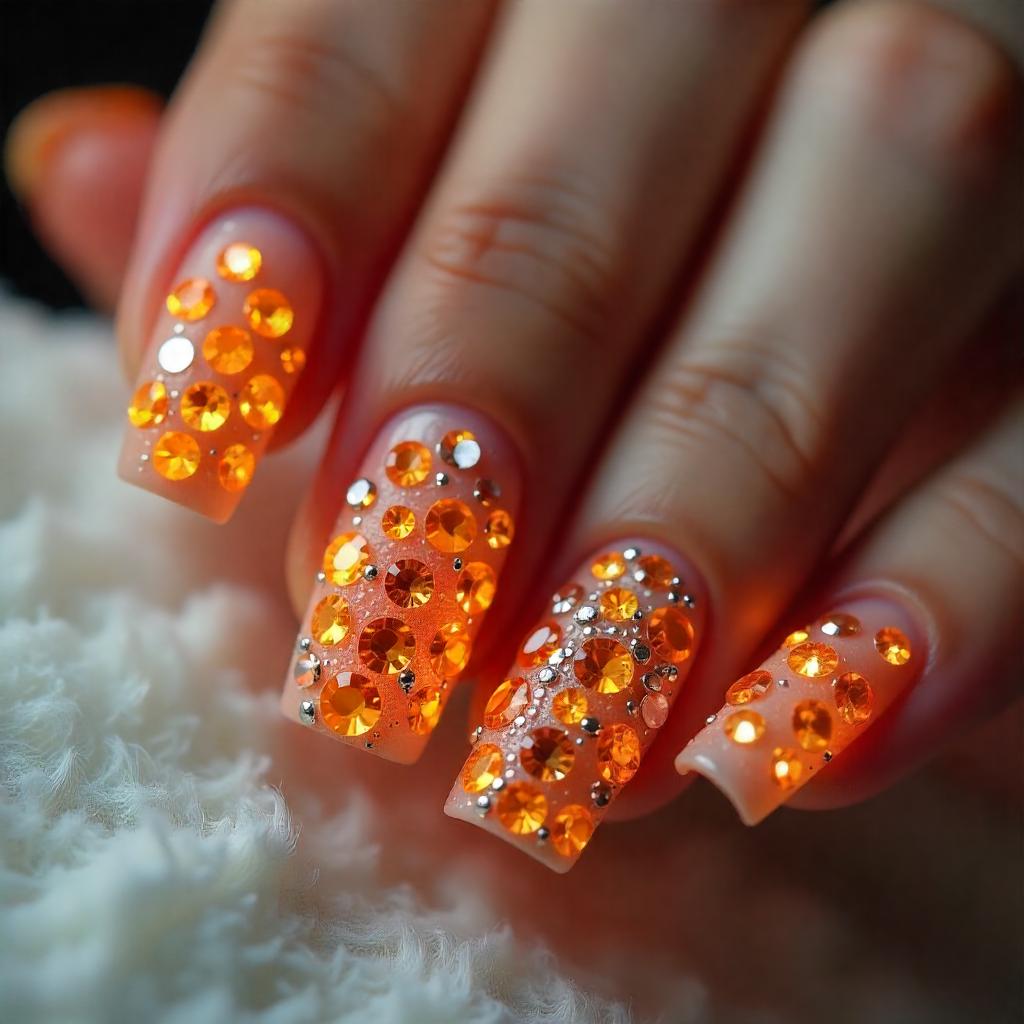

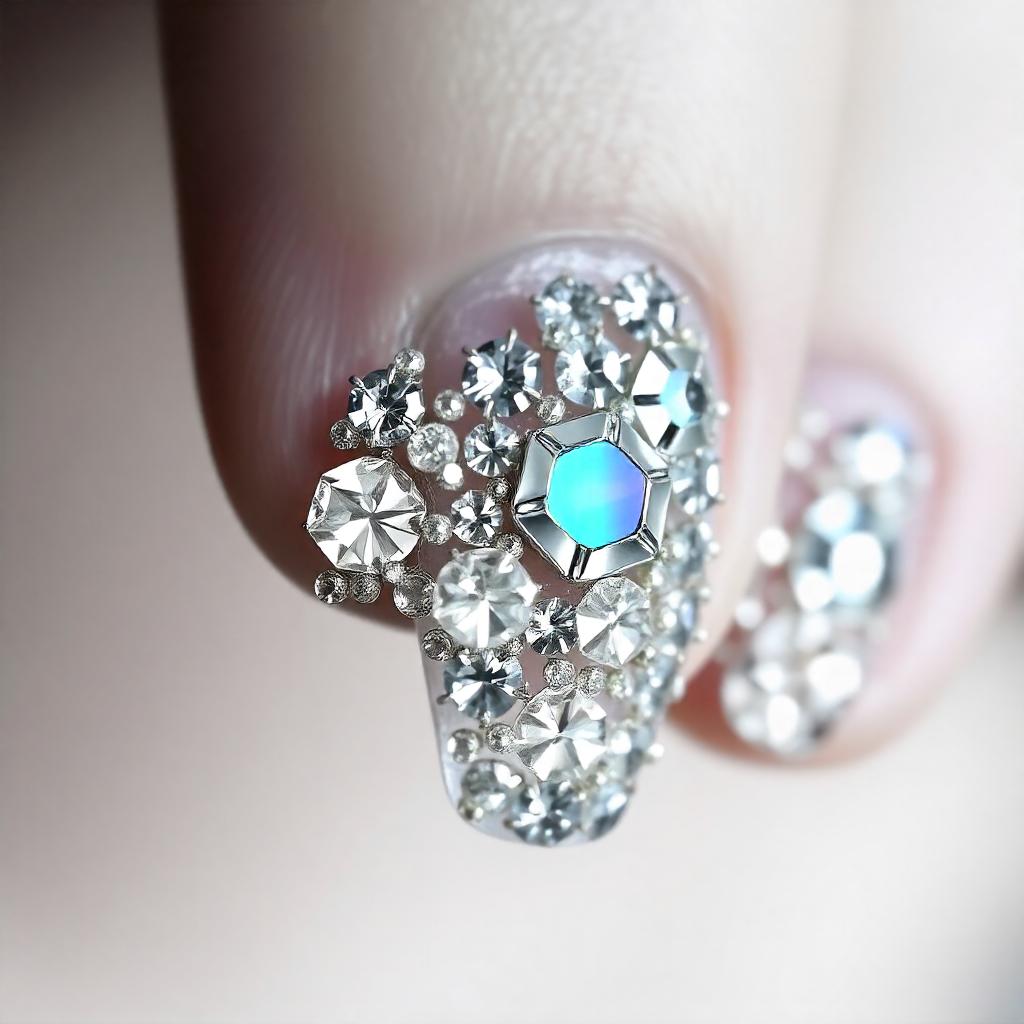

3D Rhinestone Techniques transforms flat nail art into stunning sculptural works of art. Imagine multi-dimensional nail art that pops off the nails. The advanced technique uses a layering of rhinestones at different heights to create depth and movement. Begin with a gel base strong enough to support embellishments that are raised.
You can use rhinestones of different sizes – smaller ones as the foundation and larger ones as focal points. Try creating patterns with raised elements, such as geometric shapes or flower forms. Using a steady and careful hand is essential when placing the 3D elements. To secure 3D elements, use a topcoat of gel and tweezer for accuracy.
15. Mixing Media Approaches
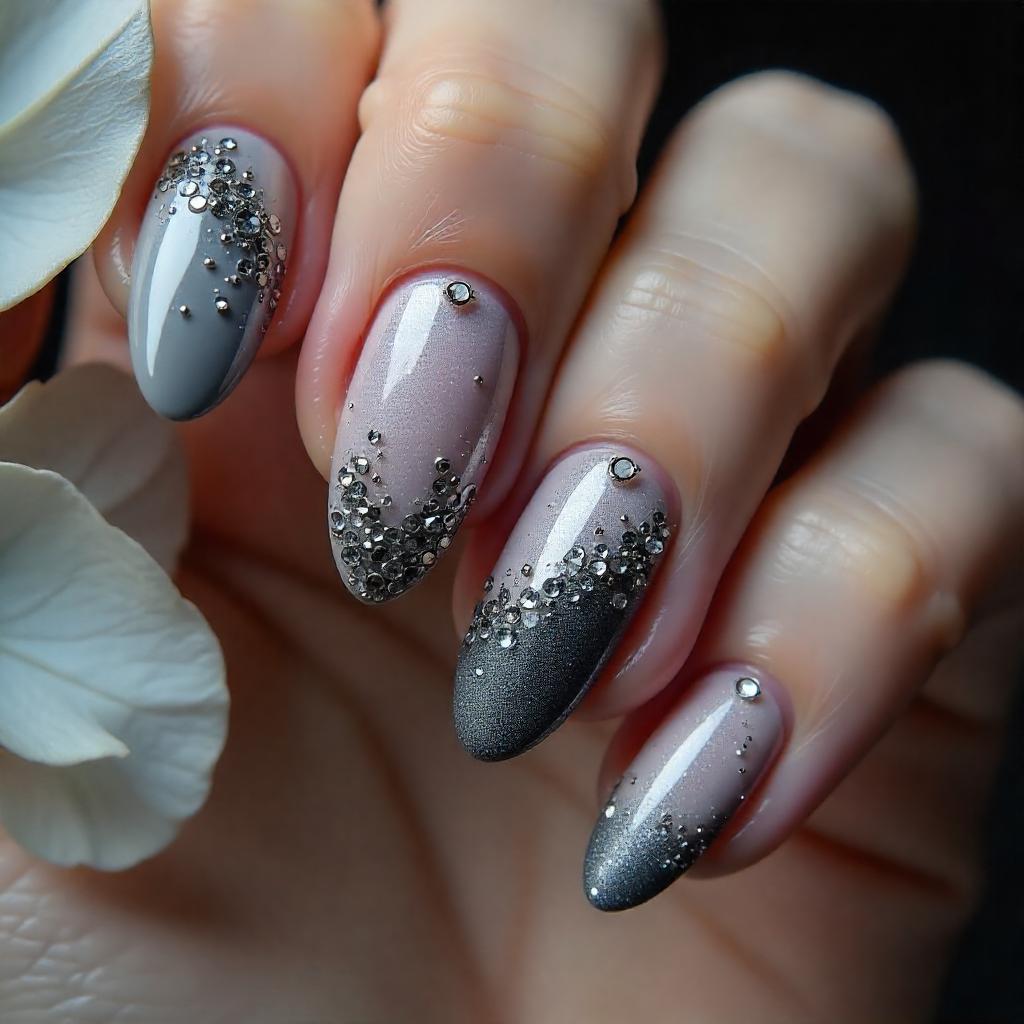

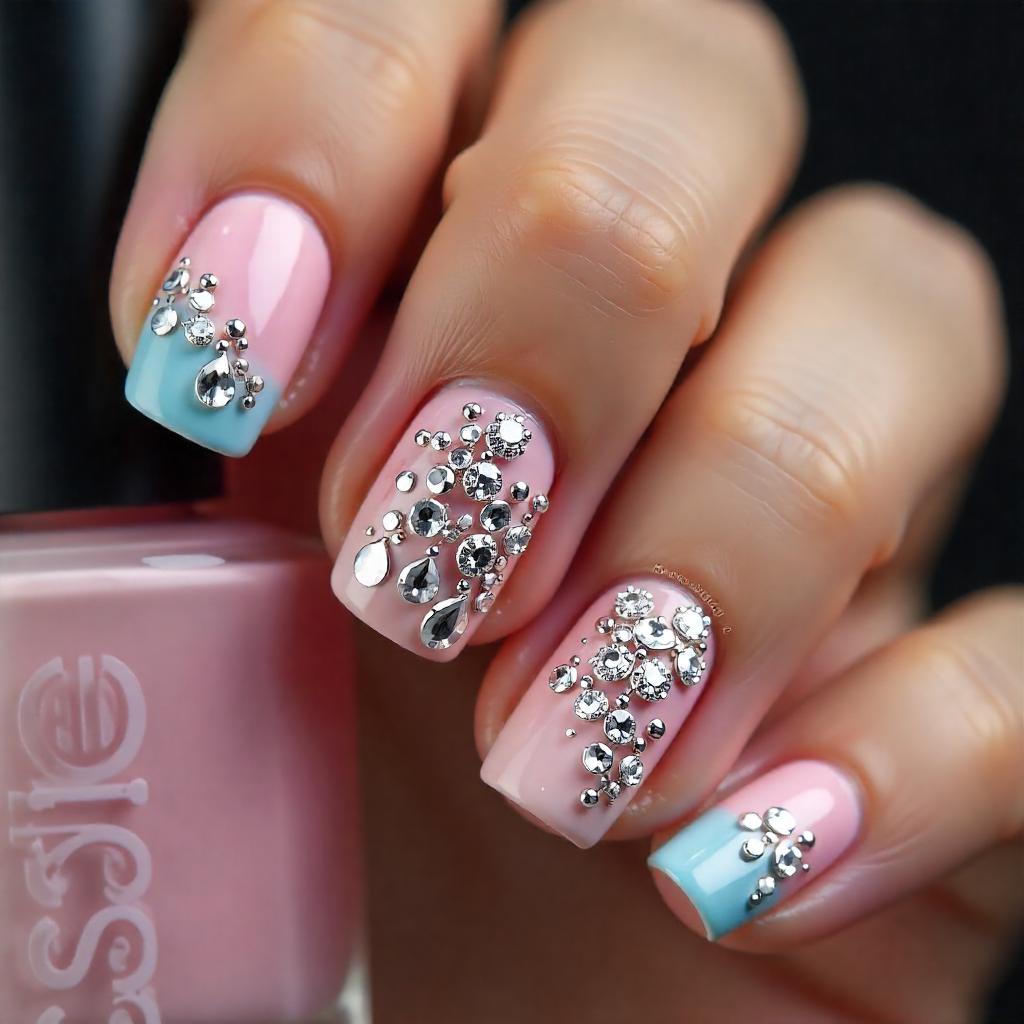

When you combine rhinestones and other nail techniques, true creativity will explode! Imagine your nails as canvasses for mixed media art. Mix traditional methods with strategically placed rhinestones, such as marble patterns or watercolor effects. You can also use metallic foils or holographic powders to create designs and hand-painted patterns. Try contrasting textures – try smooth matte surfaces with shiny stone accents or rough texture surfaces with sleek lines of rhinestones.
Create minimalist, modern designs by using negative space. Combine different embellishments, such as crystals and chrome powder or florals painted by hand with strategically placed stones. It is essential to have a design that has a cohesive story. Rhinestones can be used as punctuation in your narrative.
16. Create Texture with Strategic Stone Placement
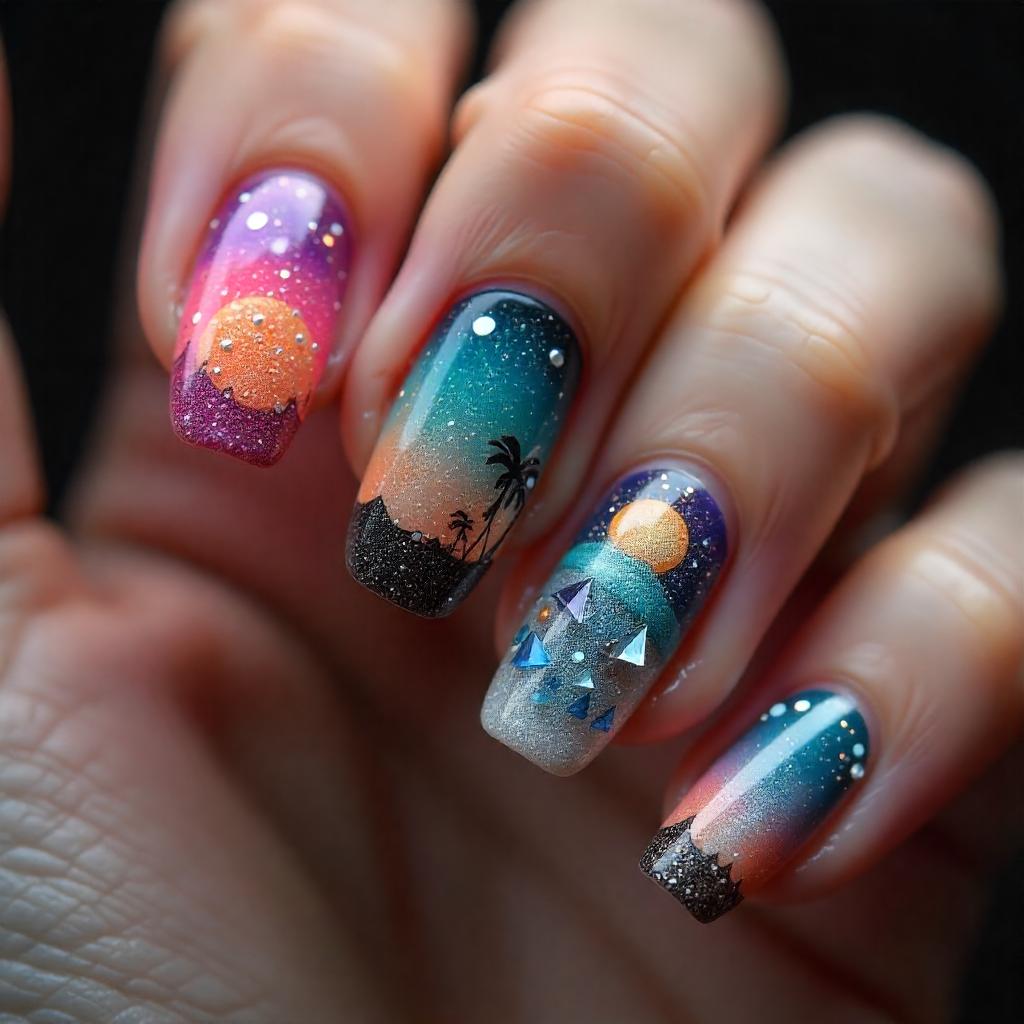

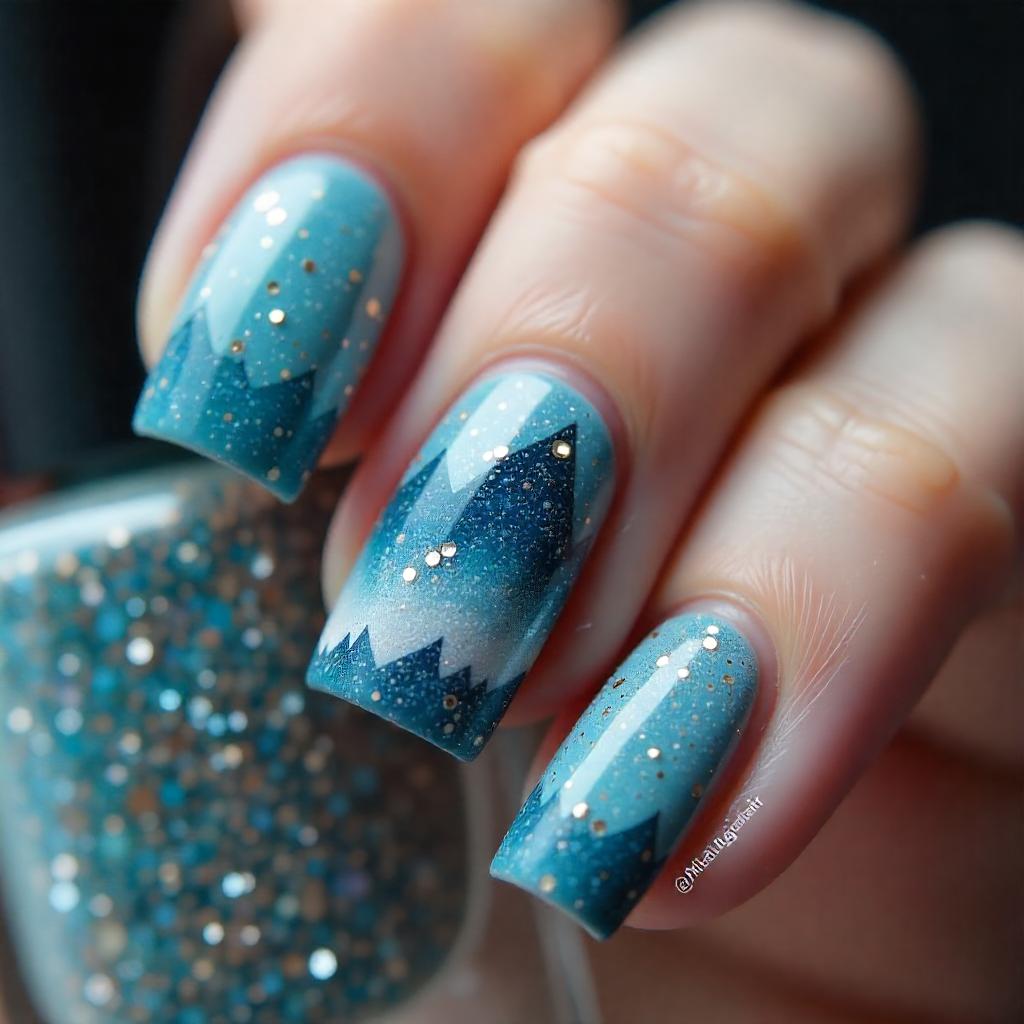

Strategically place stones to create texture. Texture is your secret weapon for advanced nail art. Rhinestones will add visual and tactile appeal. You can make a landscape with your stones. It is not only about placing them. Consider different sizes of stones, from micro-crystals up to large statement pieces. By varying the stone size and density, you can create gradient effects. Try experimenting with placements that are asymmetrical to create visual textures and lines.
You can use techniques such as stone clustering to group stones into organic patterns that appear random. You can use stones to make raised lines, geometric forms, and even miniature landscapes. Think about how the light interacts with stones, creating depth, shadows and reflections. It’s all about the placement of your nails, which makes them appear wearable, miniature art that changes with each movement.
The unique techniques offer a way to turn your simple nail polish into a work of art. It’s all about confidence and creativity. There are no rules to nail art, only infinite possibilities.
Maintaining Your Bling: How to Keep it Shiny
Application Tips
- Keep your hands steady.
- Use stones when your polish is slightly damp.
- Use tweezers to place the syringes precisely.
- To keep the stones in position, seal with a topcoat.
Removal Strategies
- Gently soak your nails.
- Use acetone carefully.
- Be gentle – don’t try to force the stones away!
DIY vs. Professional Application
DIY Hack
If you practice, you can create amazing designs with rhinestones at home. Don’t be discouraged; start small, follow tutorials, and do not get frustrated!
Salon Magic
You must create designs other than those made by professionals. You deserve to treat yourself now and then!
Rhinestone Nail Designs Around the World: Global Inspirations
Rhinestone nail art speaks a universal language. From intricate Korean designs to European minimalism, it expresses creative creativity. This fabulous trend is a global phenomenon.
Rhinestone Nail Designs: The Future
Get excited! We’re seeing:
- Sustainable stone alternatives.
- Designs that integrate technology.
- The application of increasingly creative techniques.
Last Thoughts: Nails and Art
Have fun! Rhinestone nail designs are all about you. No rules are set in stone, only guidelines. There are many designs that you can create. Some may look outrageous, others elegant. But they will all be unique to YOU.
Quick Confidence Boosters:
- Begin small.
- Practice makes perfect.
- Do not be afraid to try new things.
- Watch online tutorials.
- Investing in high-quality stones and tools.
Pro Tips:
- Always test patch adhesives.
- Keep your hands moisturized.
- Take care of your natural nails.
- Confidence in design is key.
Rhinestone designs will make you stand out, whether your goal is to create a soft sparkle or a disco-ball vibe. Nail art should be about fun, creativity and making you feel fabulous.
Are you prepared to add some serious sparkle to your daily life? Pick your design and grab your nail tools. Let’s shine those nails!

